
Real Interwest projects
A Closer Look at Our Insulation Work
Every home presents different framing, access, and performance goals. These photographs show the kinds of residential conditions Interwest works with and how our crew approaches the installation.
Project notes
Different homes call for different solutions
The photos below come from Interwest’s project library. We have kept customer names and addresses private and focused on the construction conditions, access challenges, and installation methods that may help another homeowner understand the work.
Parade of Homes project
Tall-Wall Blown-In Insulation
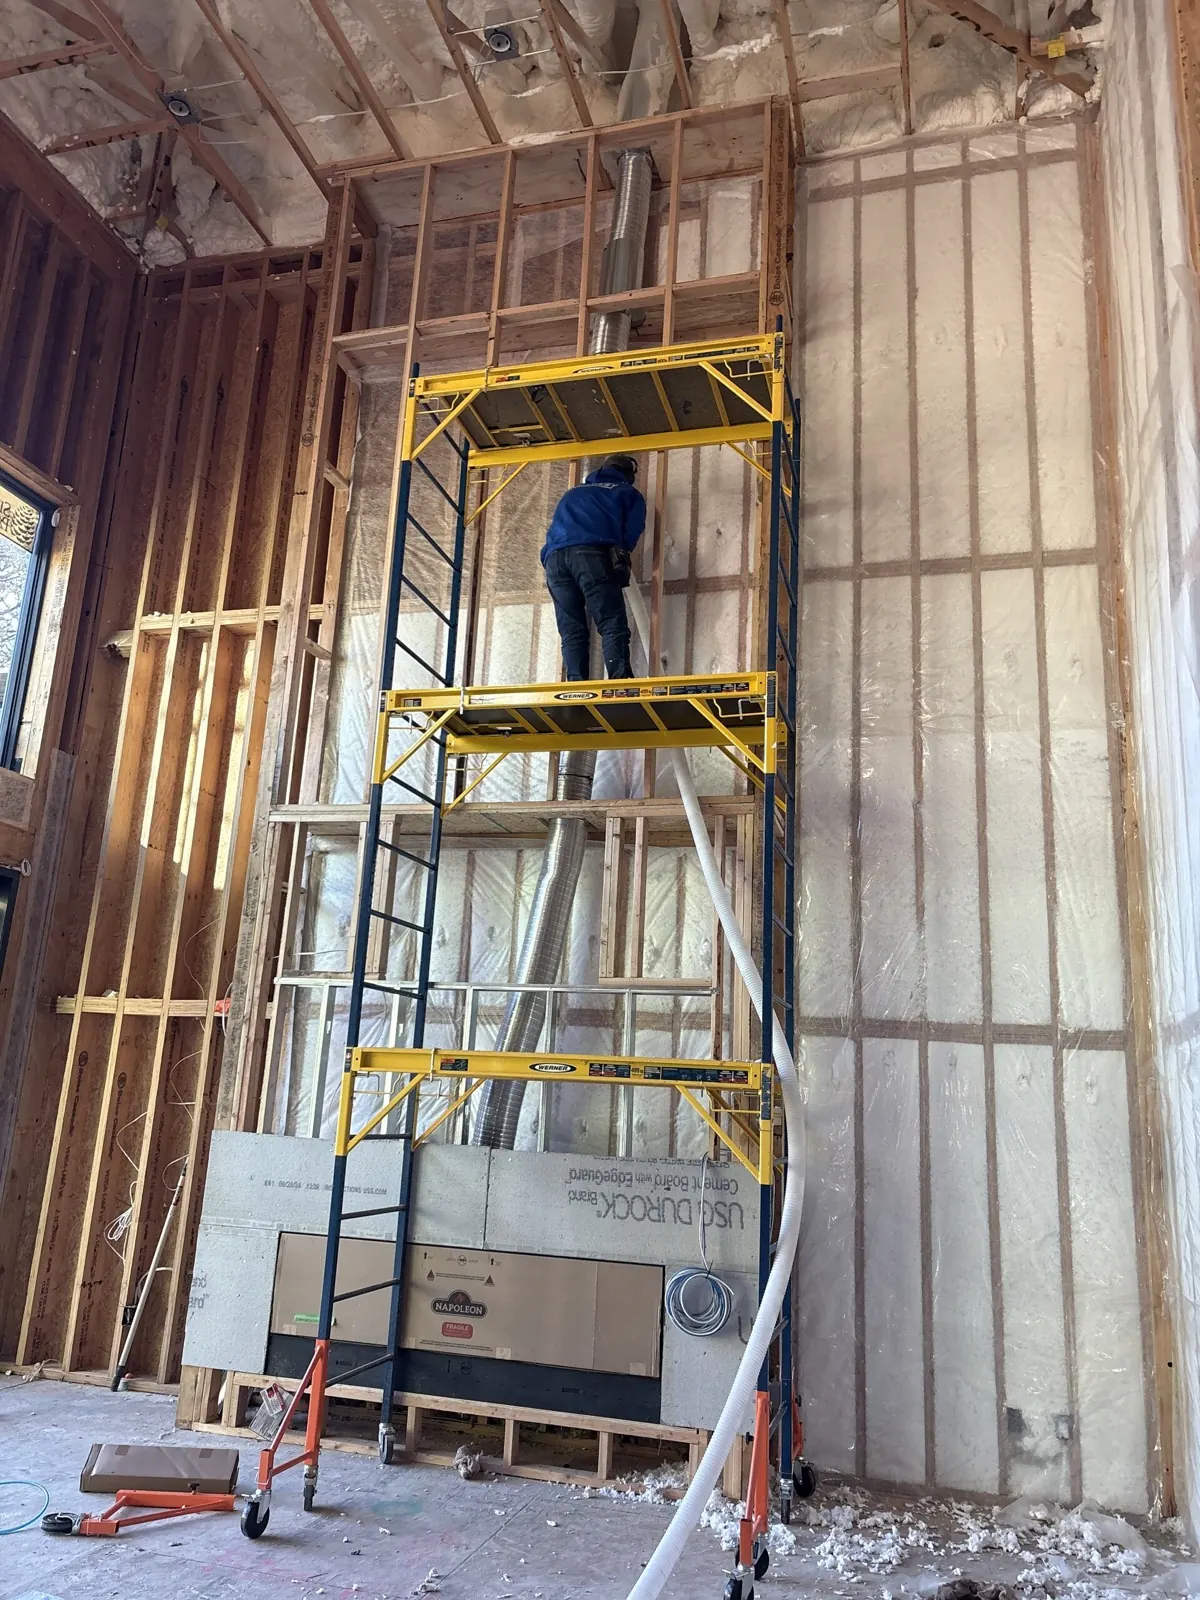
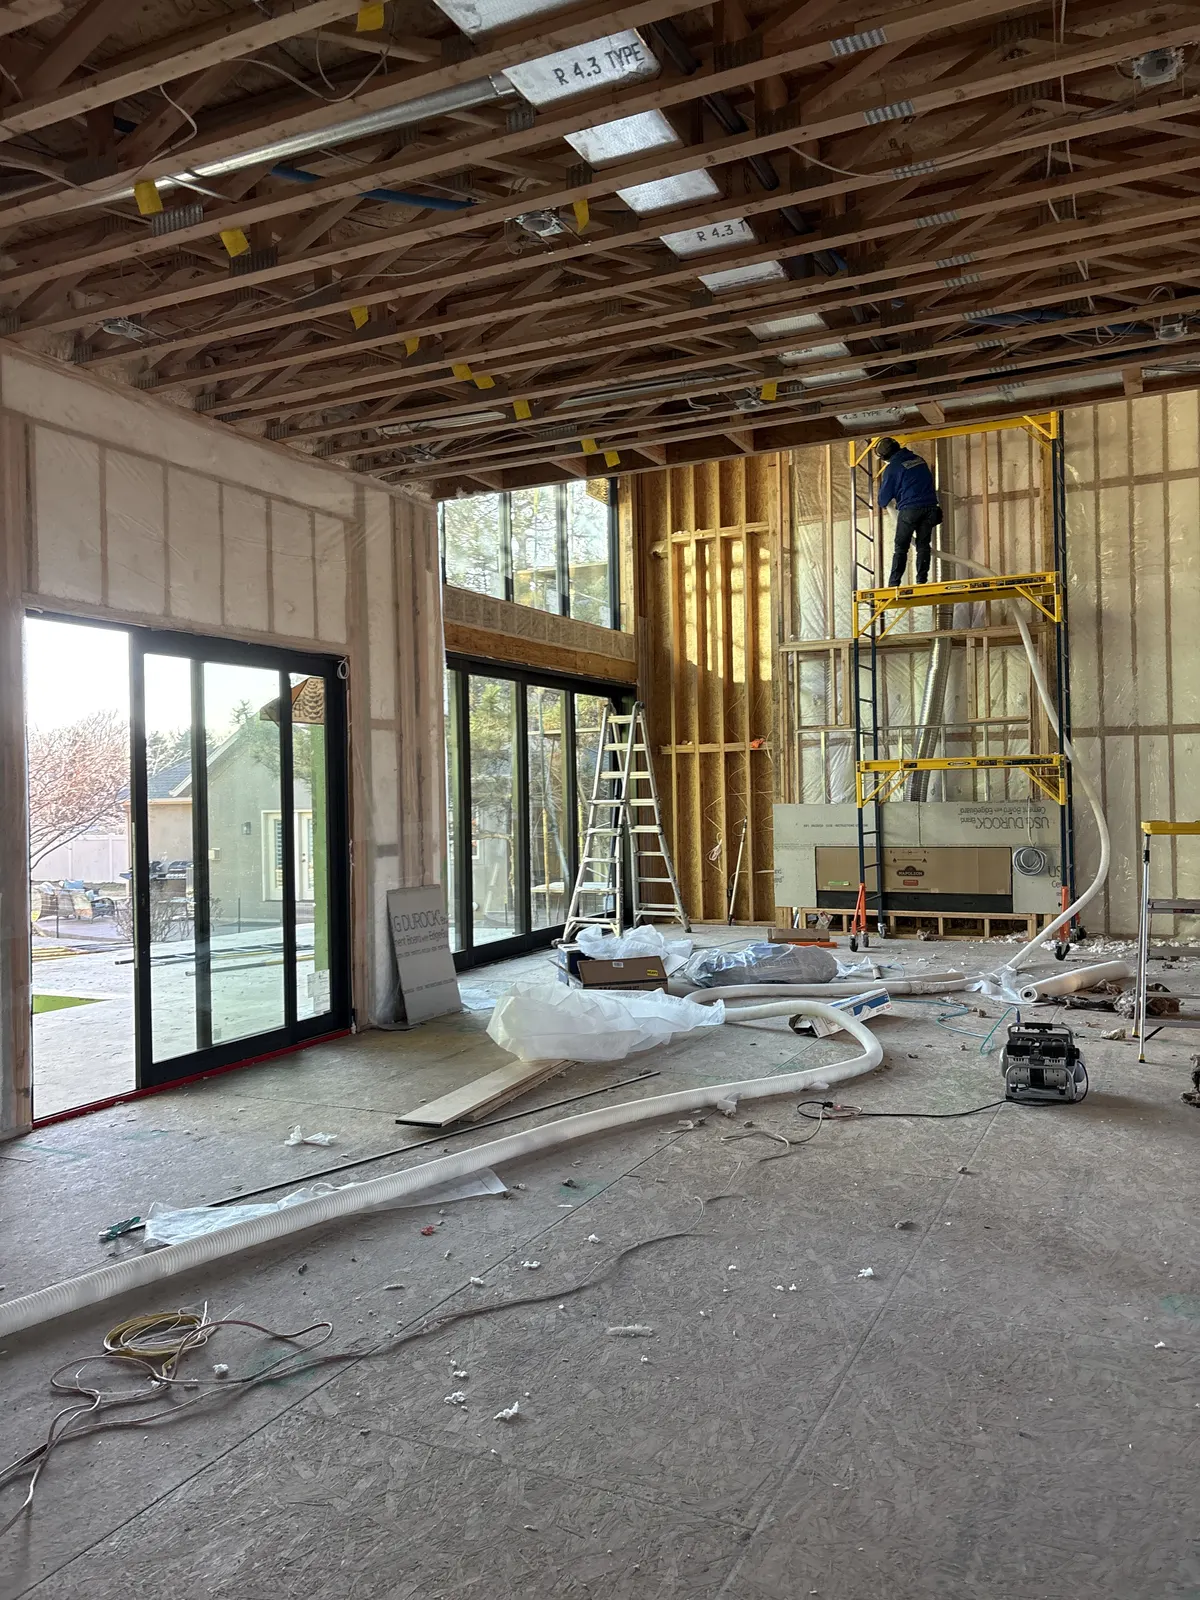
This open-framing project included a wall high enough to require a three-tier scaffold. The elevated work platform gave the installer controlled access from the bottom of the wall to the upper framing.
Netting held the blown insulation in the open cavities while the crew worked around framing and mechanical penetrations. It is a good example of why unusual ceiling heights and access conditions matter when an insulation project is planned and estimated.
Custom geometry
Circular Storage-Bin Conversion
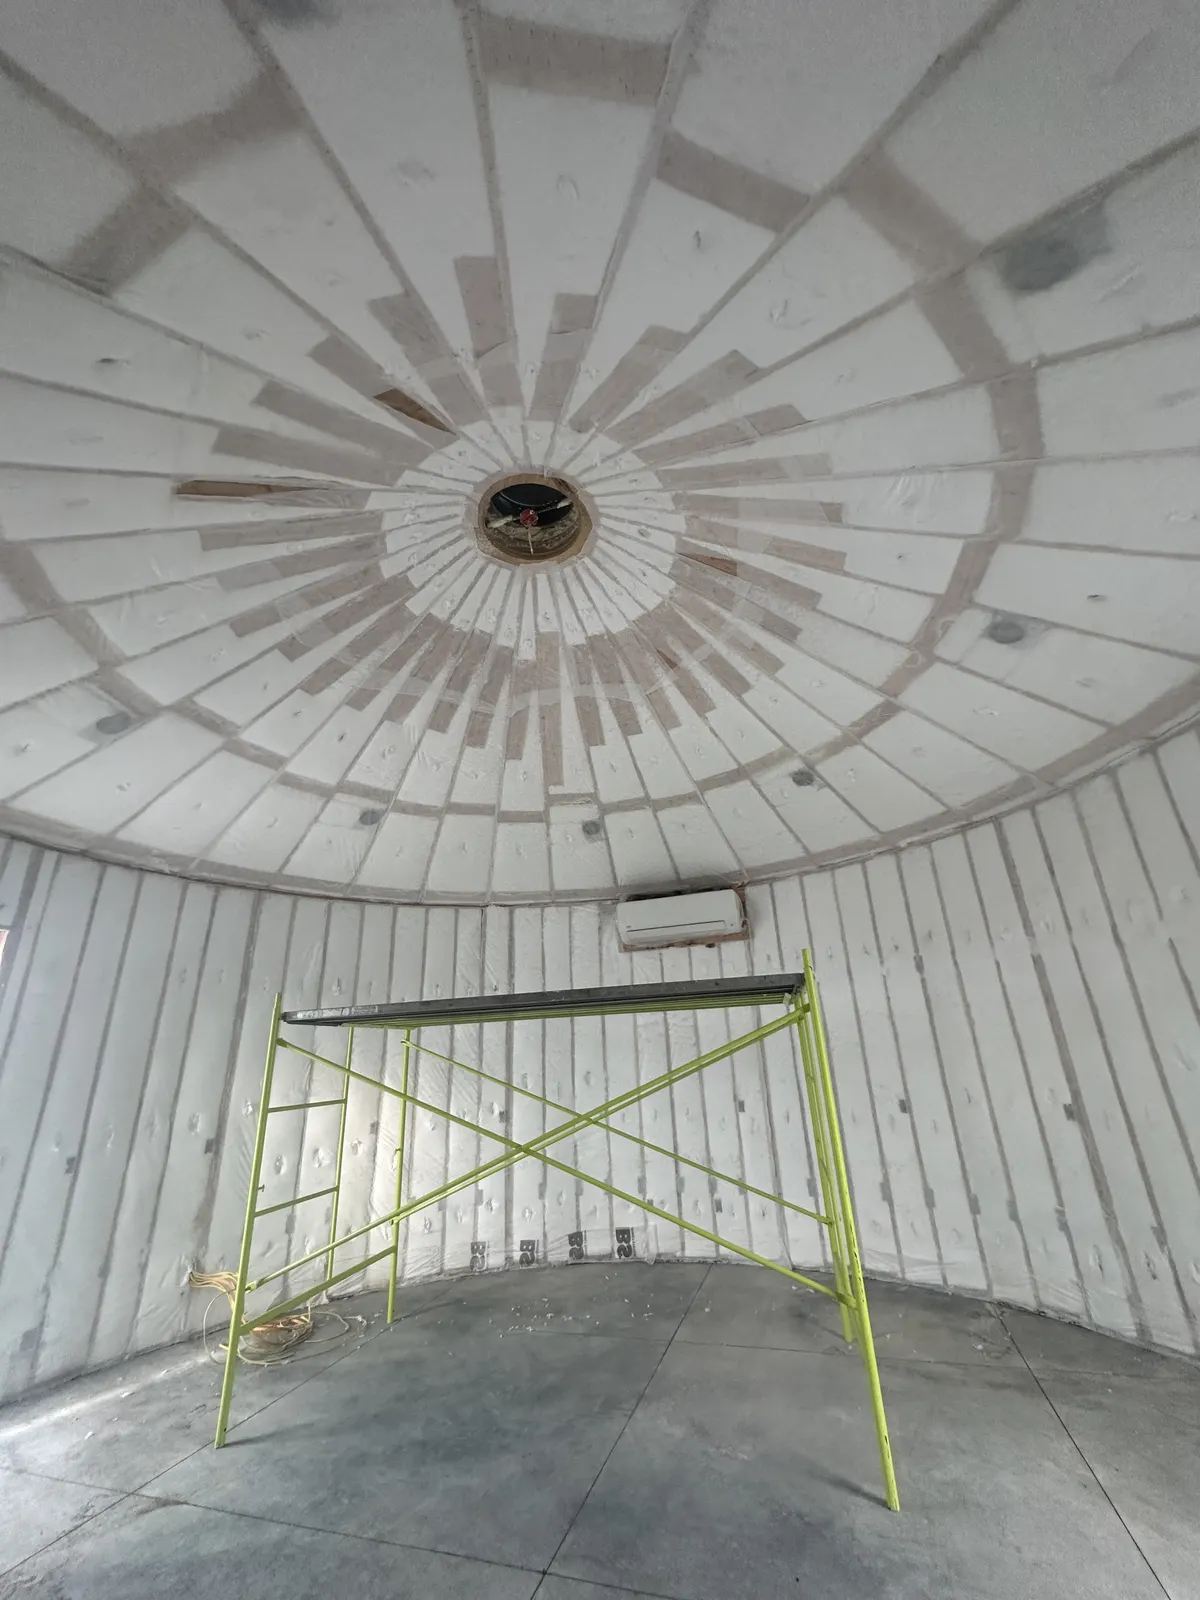
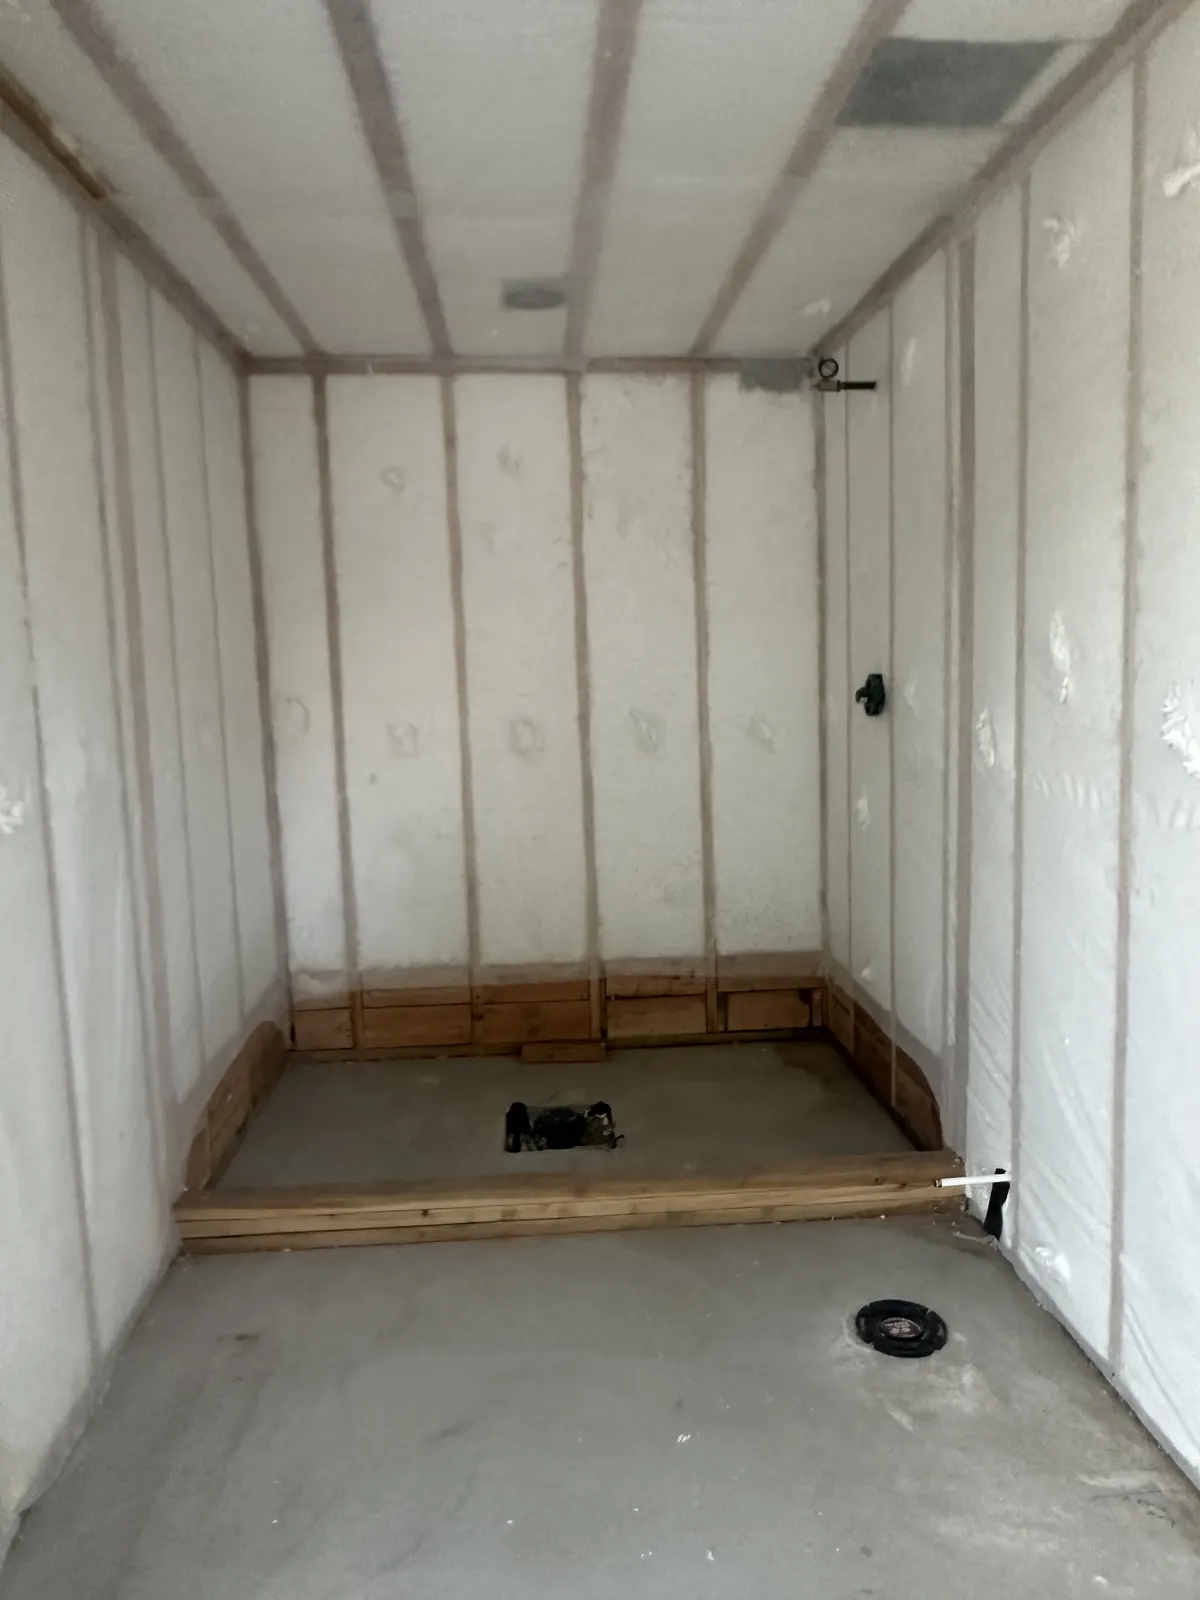
A round structure changes nearly every insulation cavity. In this storage-bin conversion, the walls curve around the room and the ceiling framing fans toward the center, creating narrow and wedge-shaped spaces instead of standard rectangular bays.
Interwest fitted the insulation system to those changing shapes and worked around the central opening, electrical locations, and heating and cooling equipment. The photographs show the insulated walls and radial ceiling before the final interior finish was installed.
This unusual project is a good example of why photographs and an on-site review can be more useful than a generic square-foot price. The geometry, access, framing, and penetrations all affect how the work should be approached.
A homeowner favorite
Basement Ceiling Sound Reduction
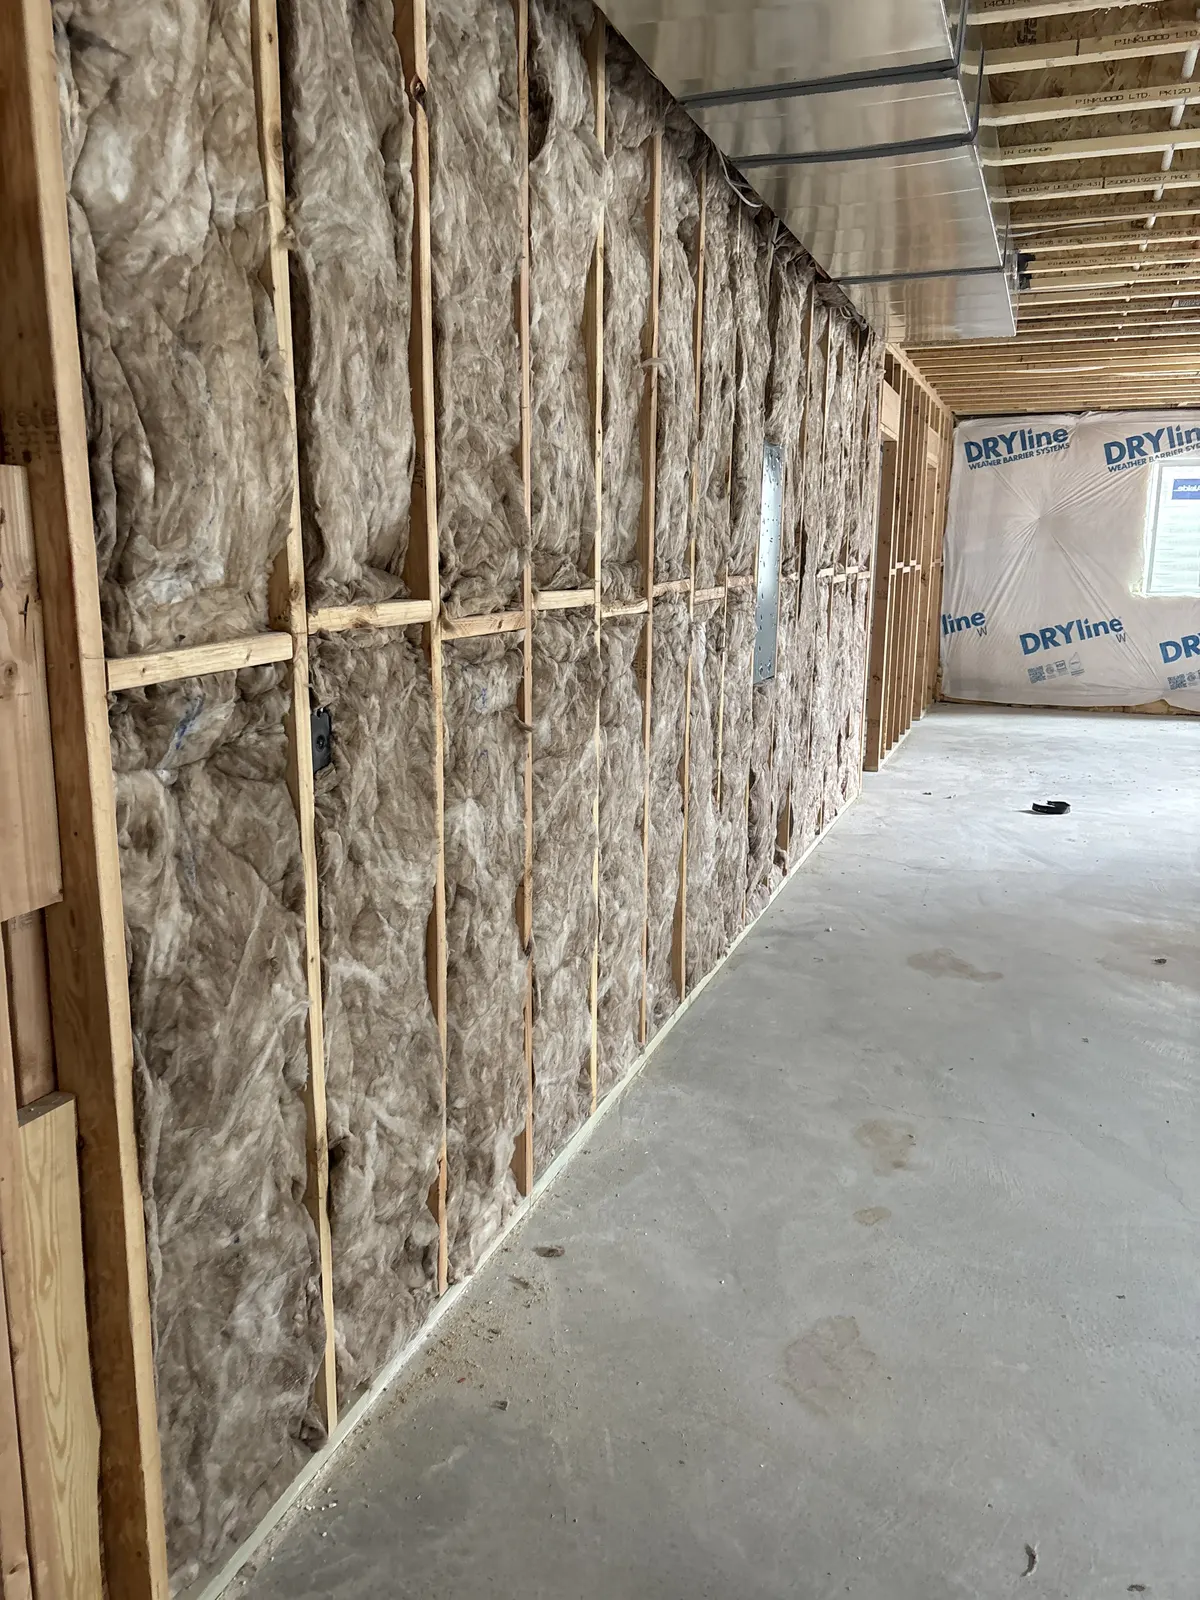
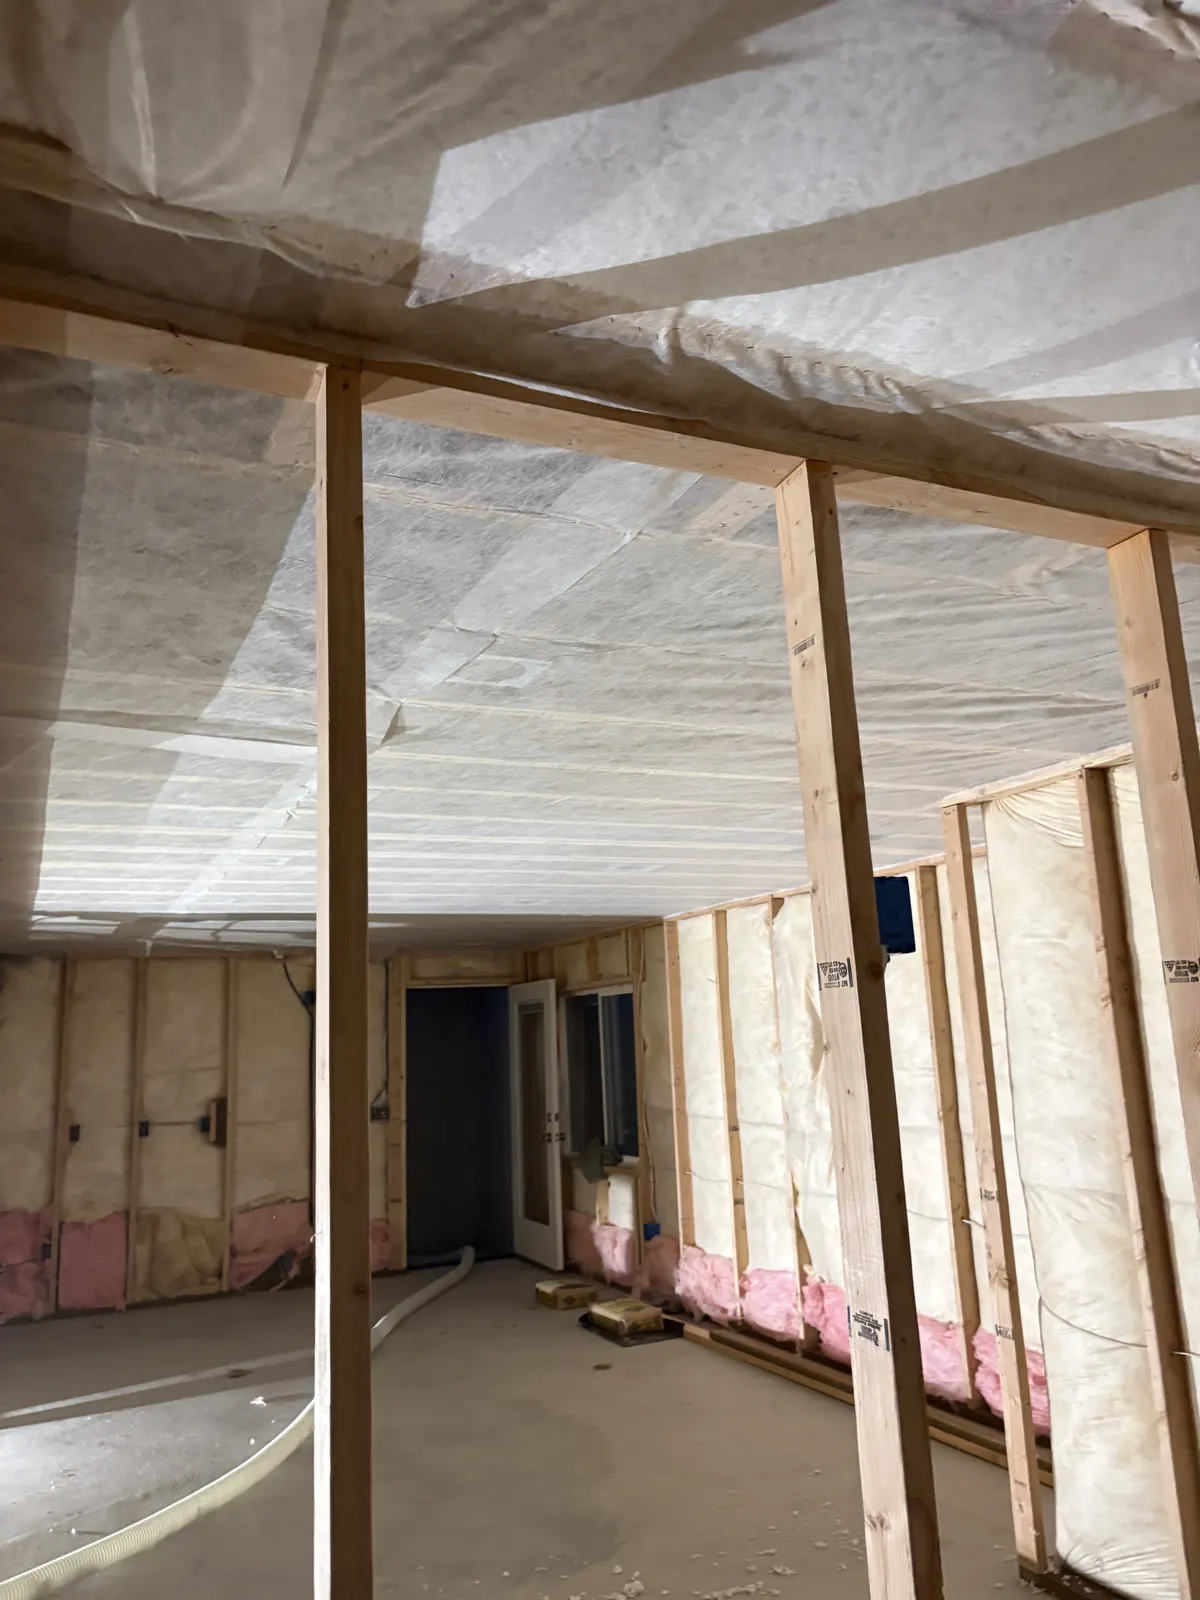
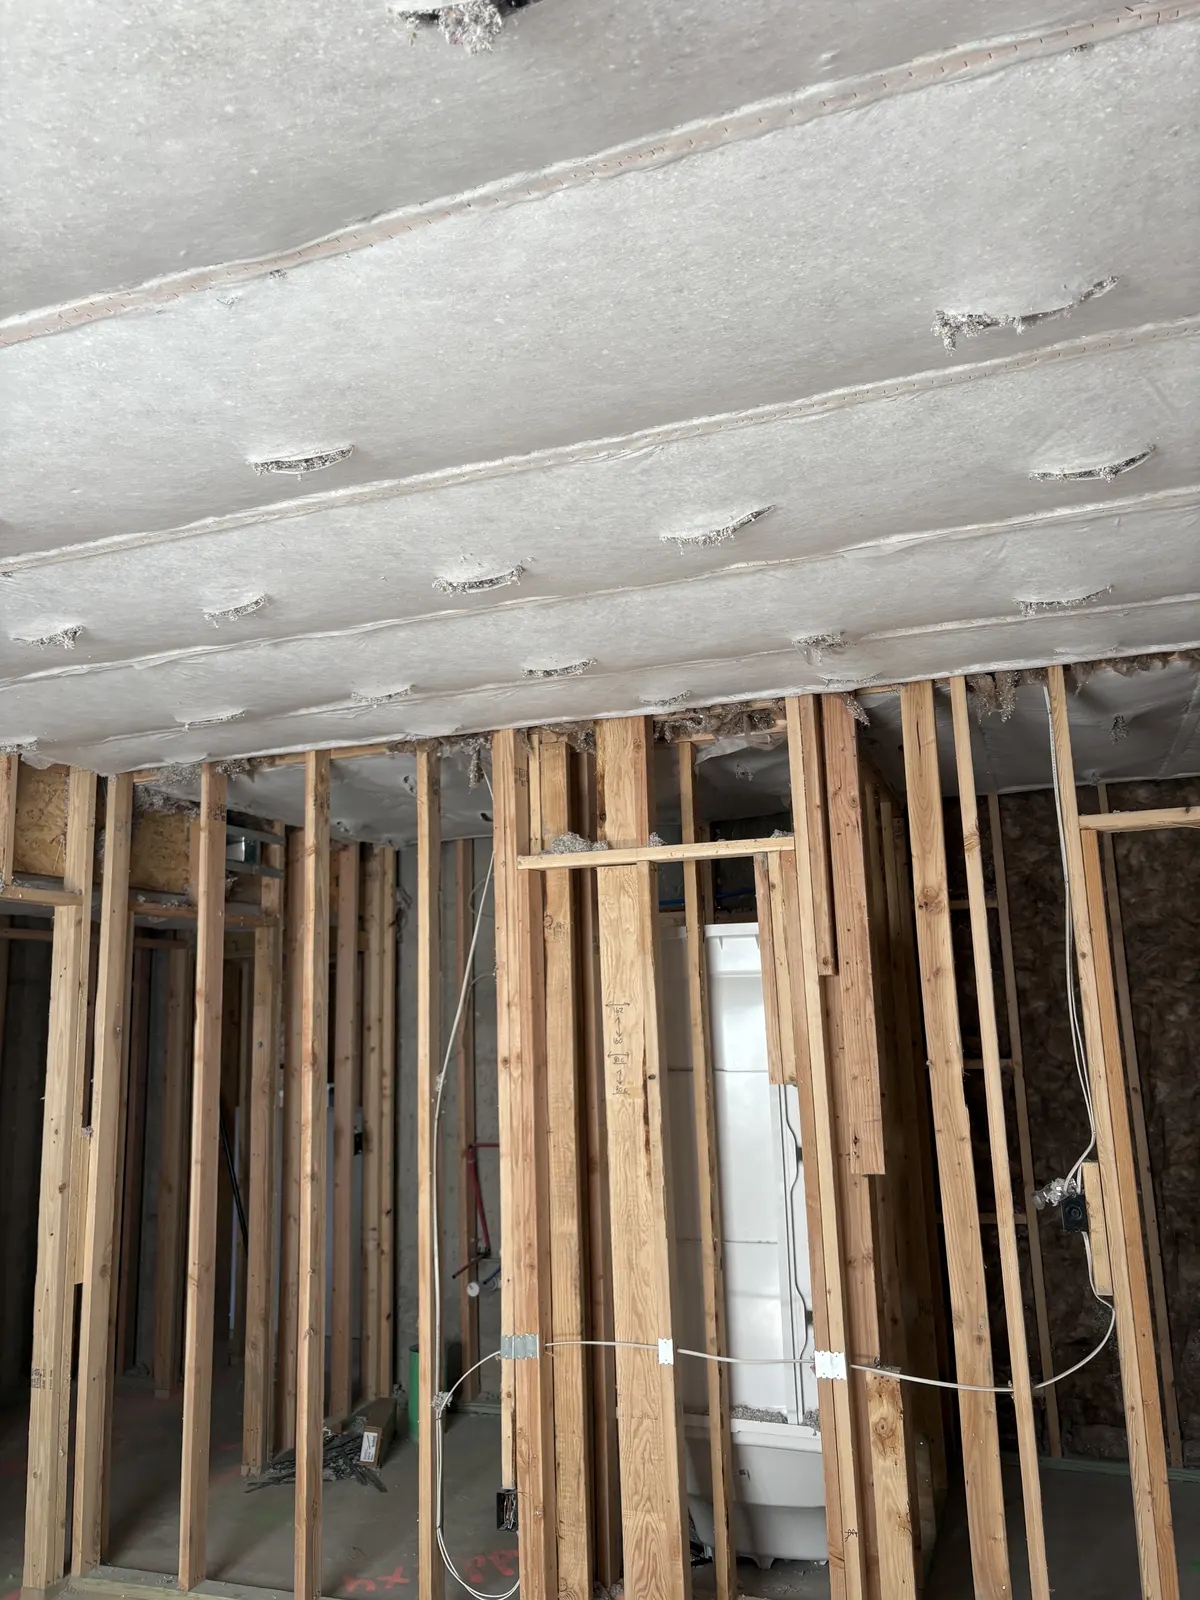
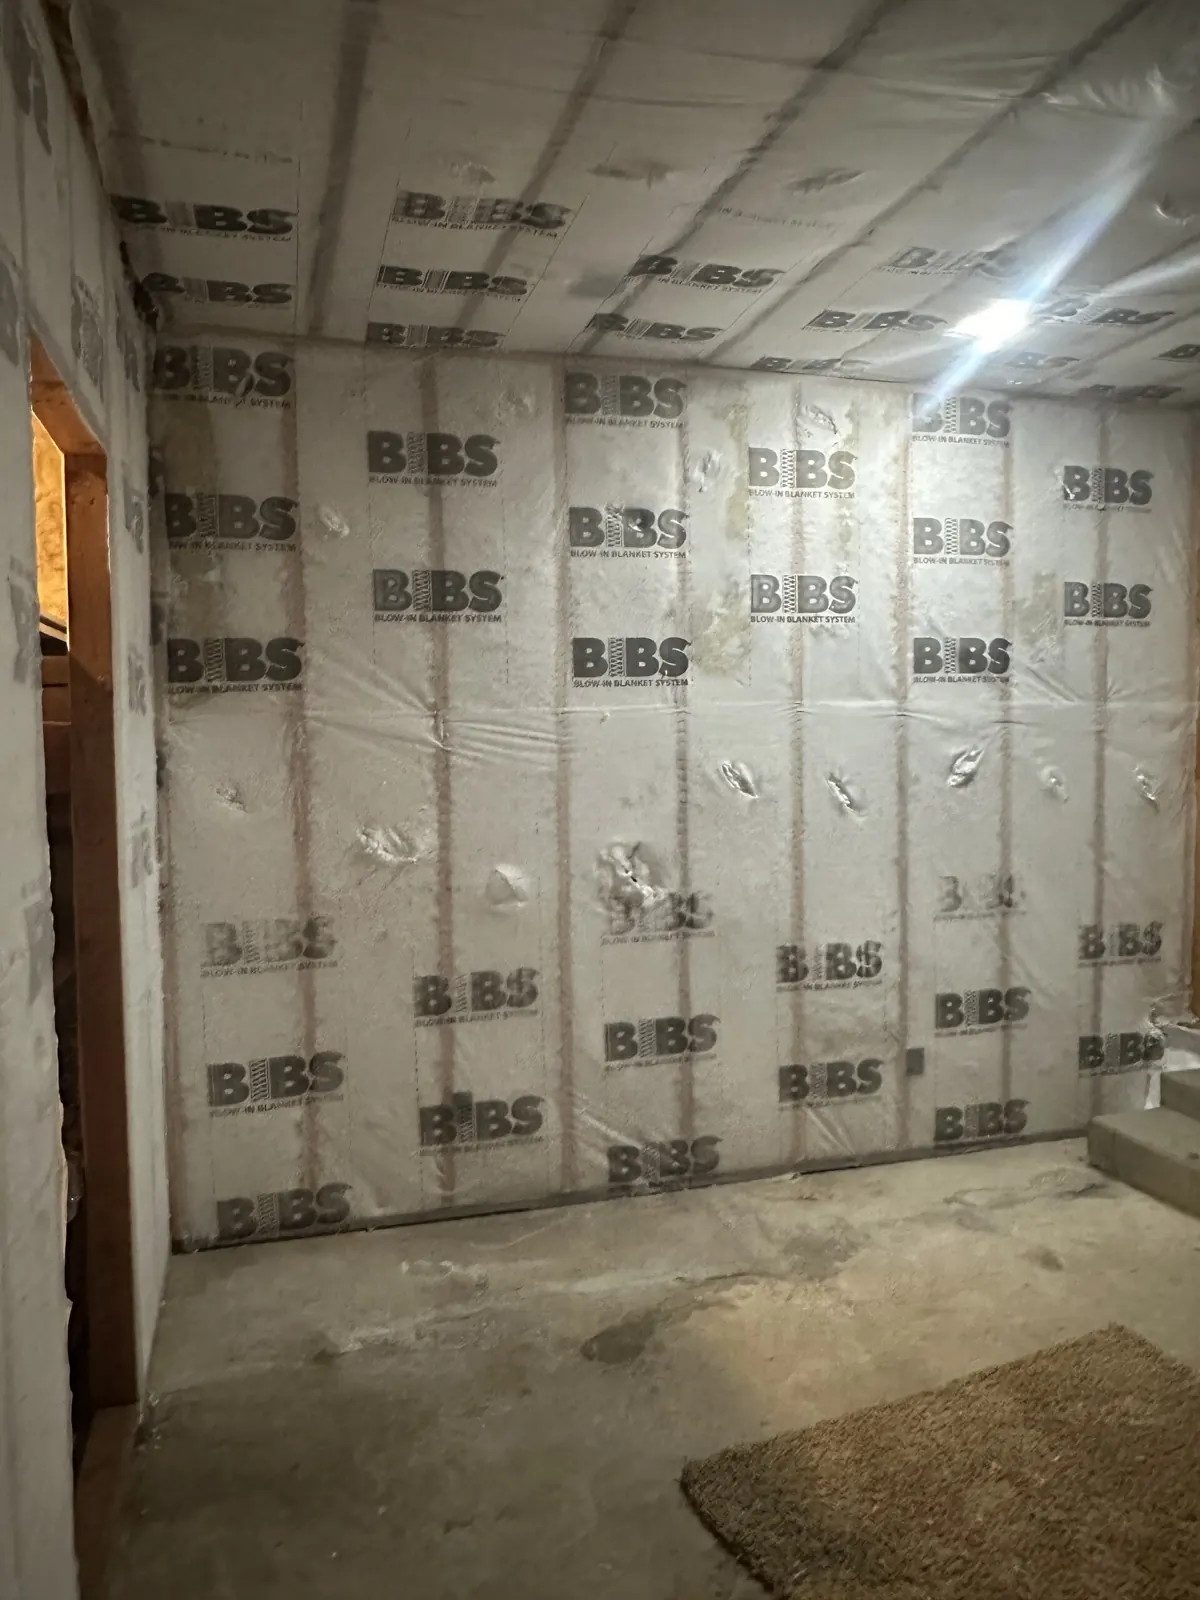
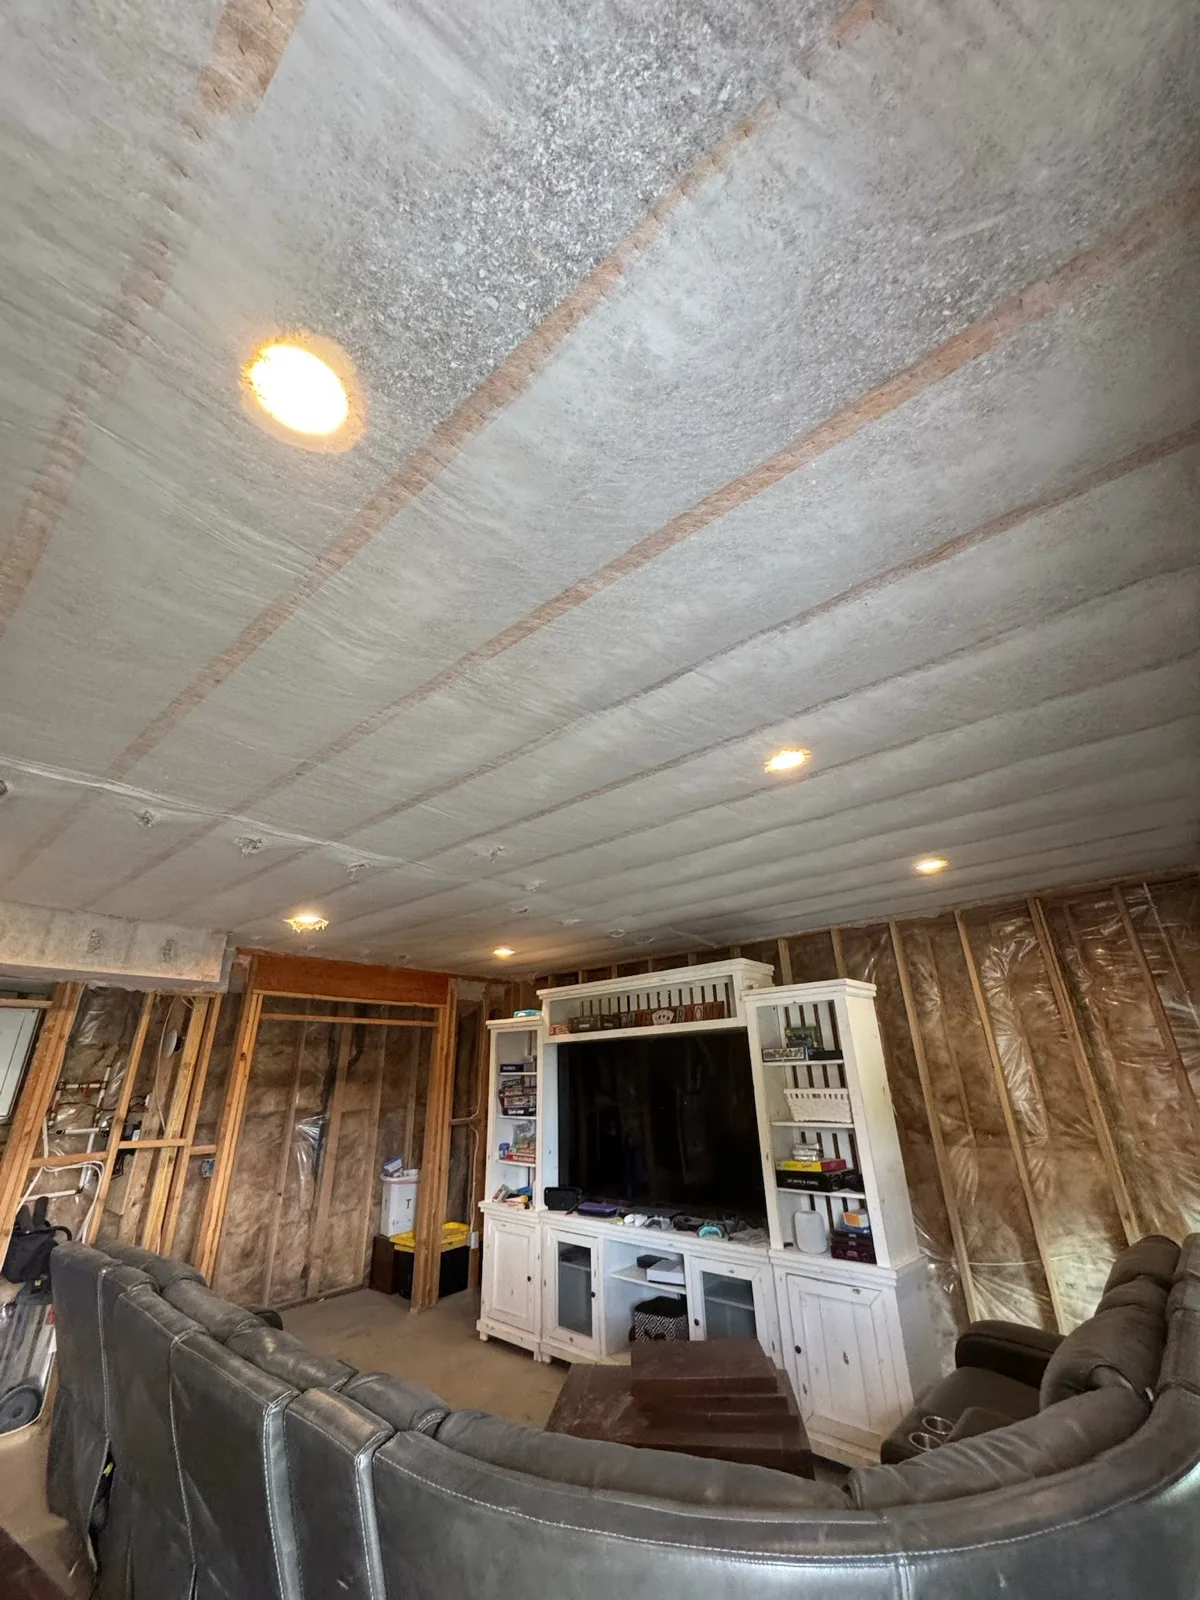
Open basement ceilings are one of the most useful opportunities for sound-deadening insulation. Interwest fastens netting across the joists and blows insulation behind it to fill the selected cavities before drywall is installed.
A filled ceiling cavity can substantially reduce airborne sound such as voices, television, music, and ordinary room noise between floors. Footsteps and dropped objects also create vibration in the framing, but homeowners often find the reduction in everyday airborne noise makes both levels feel quieter and more private.
When the ceiling is already finished, Interwest can also evaluate drill-and-fill access rather than requiring the entire ceiling to be removed.
Existing walls and ceilings
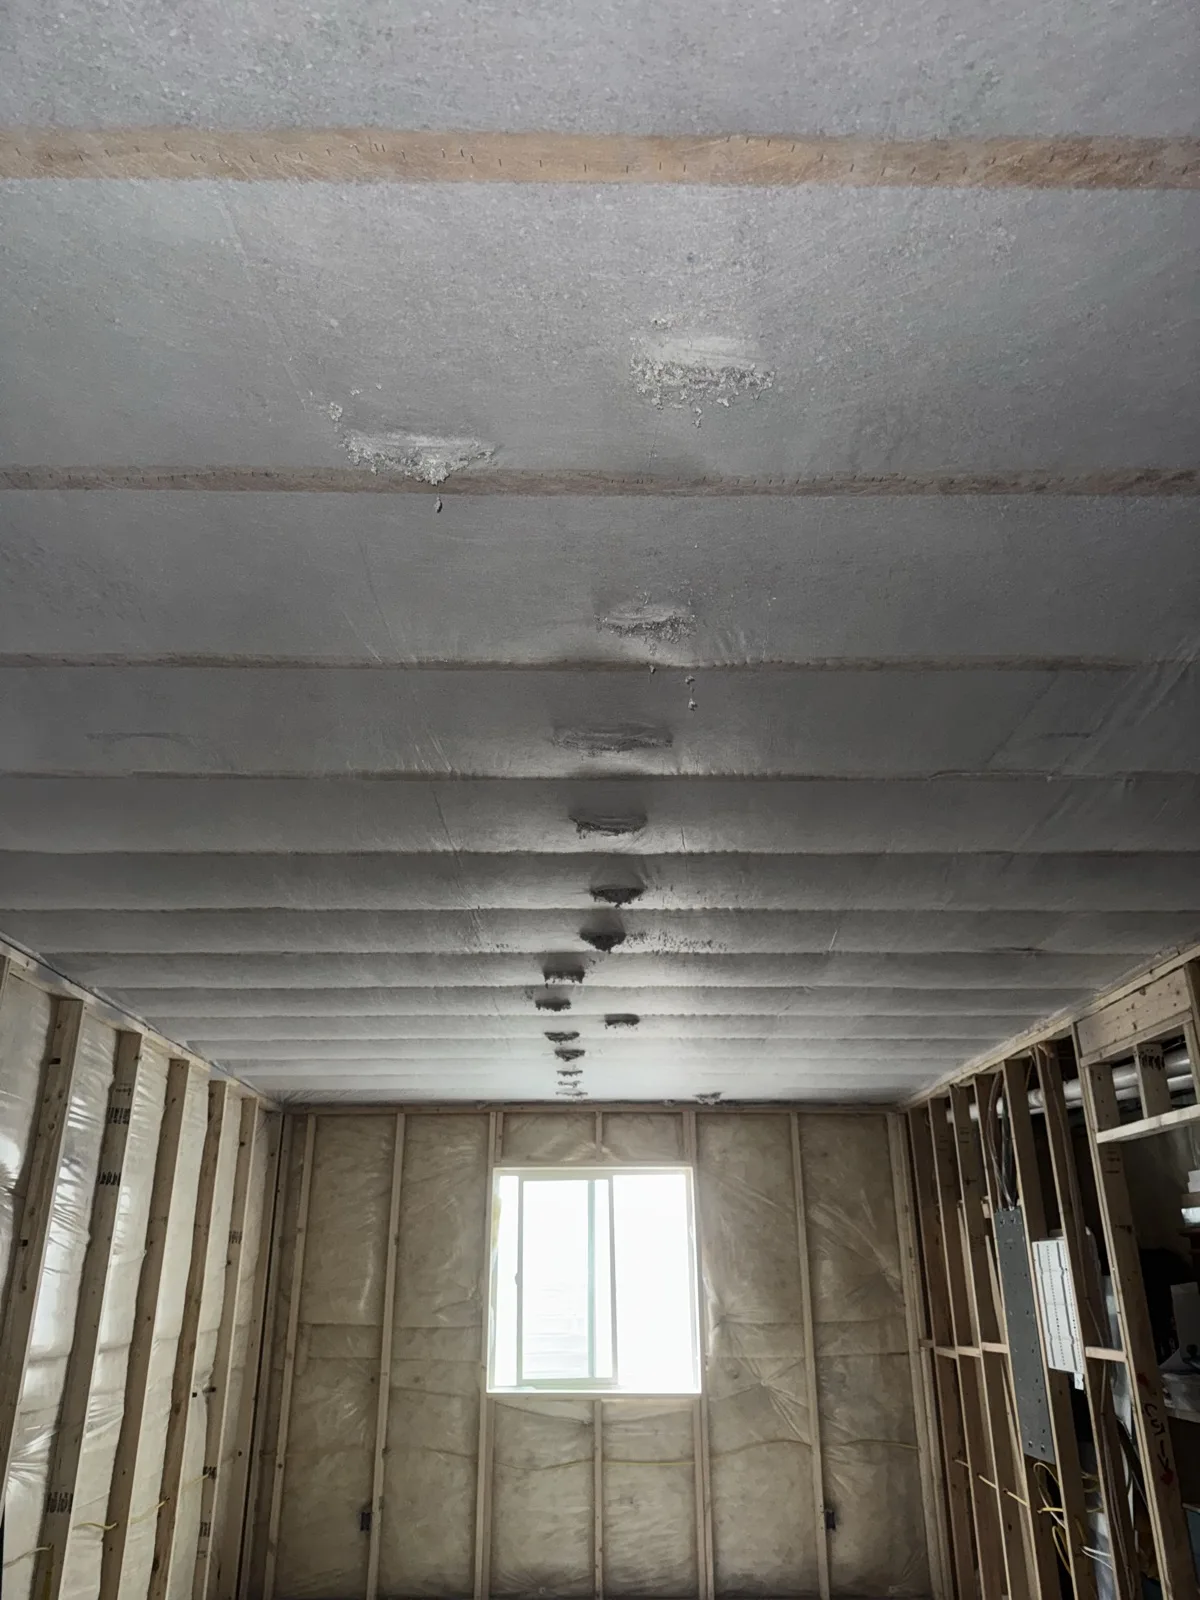
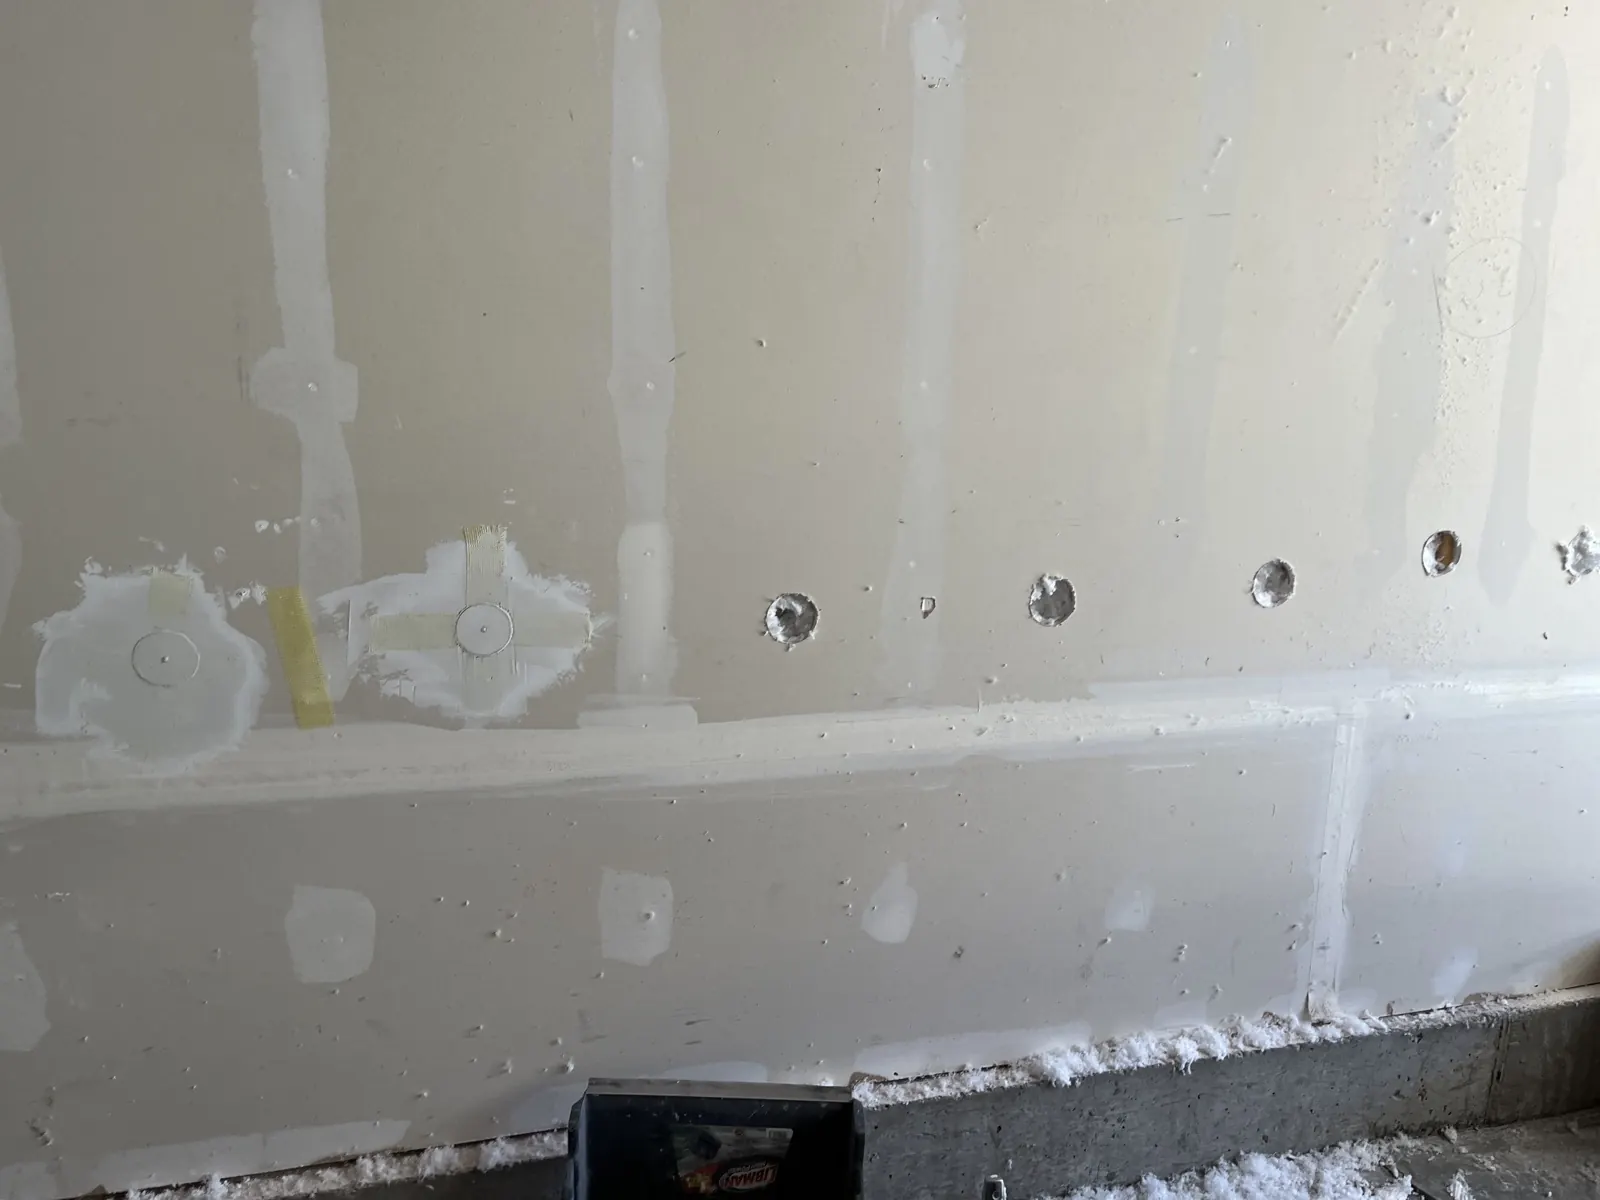
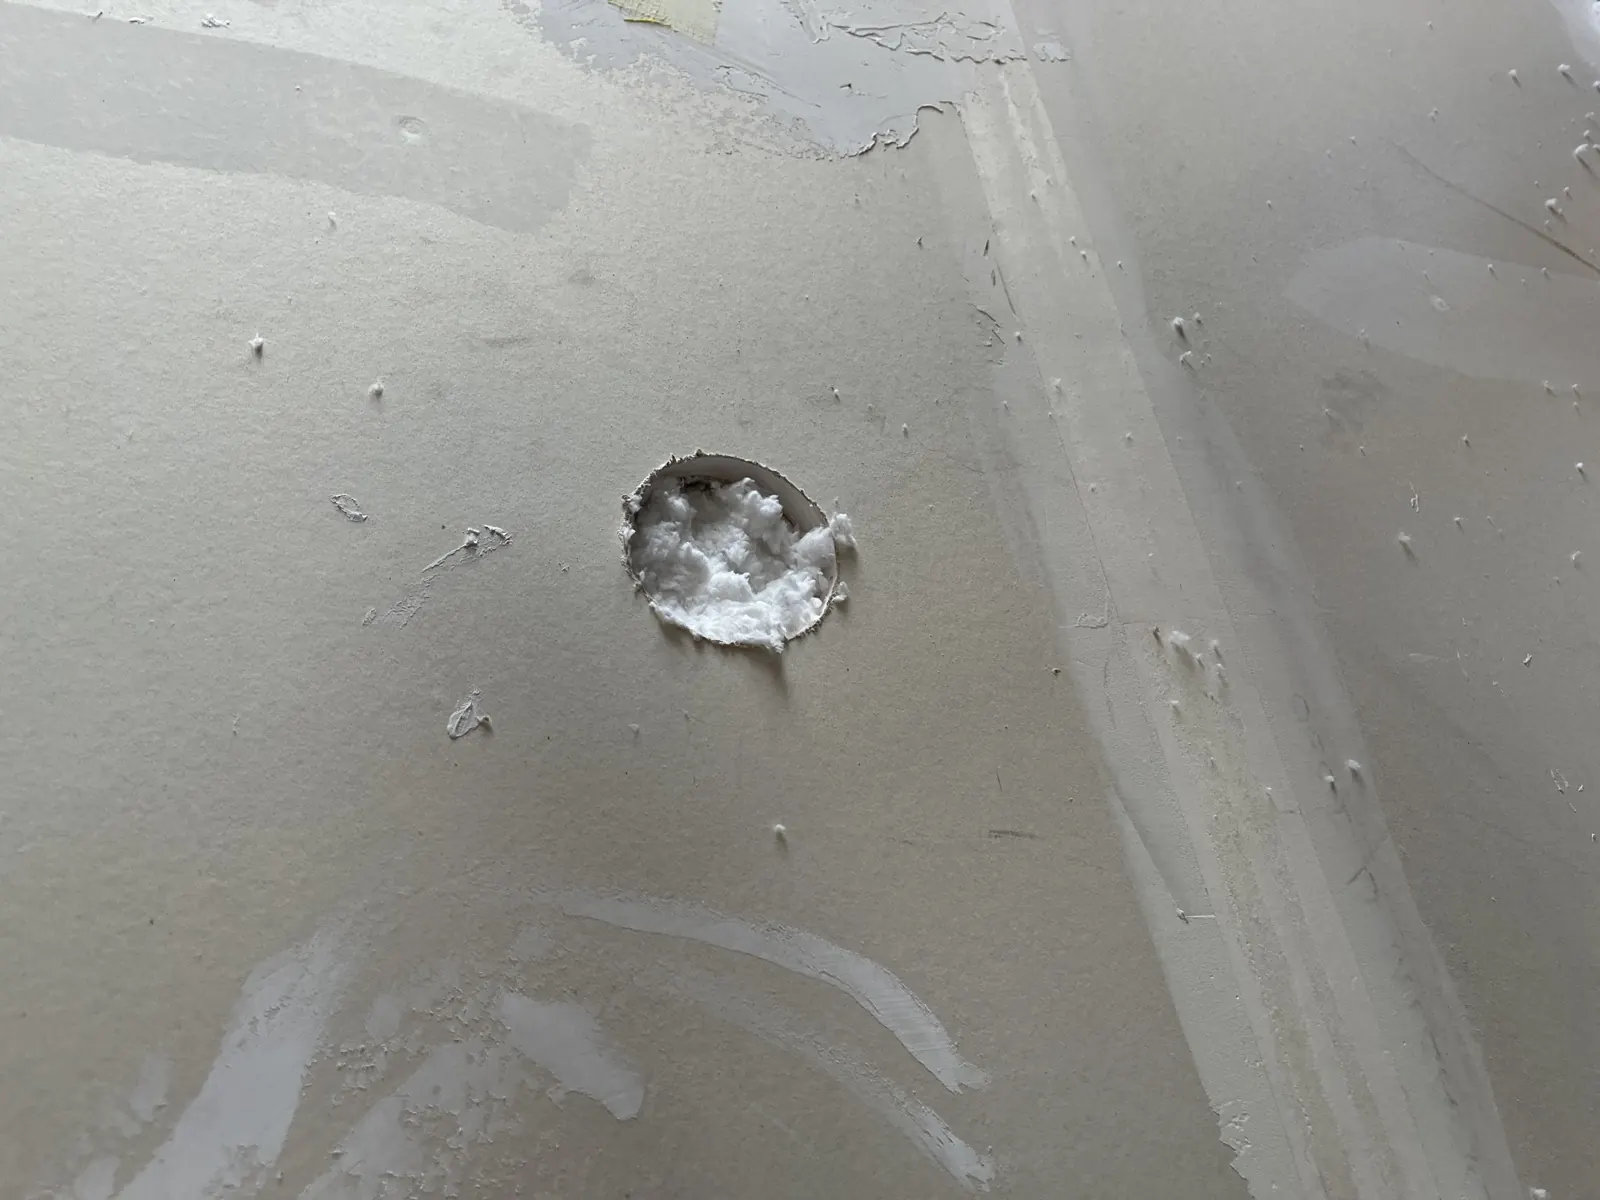
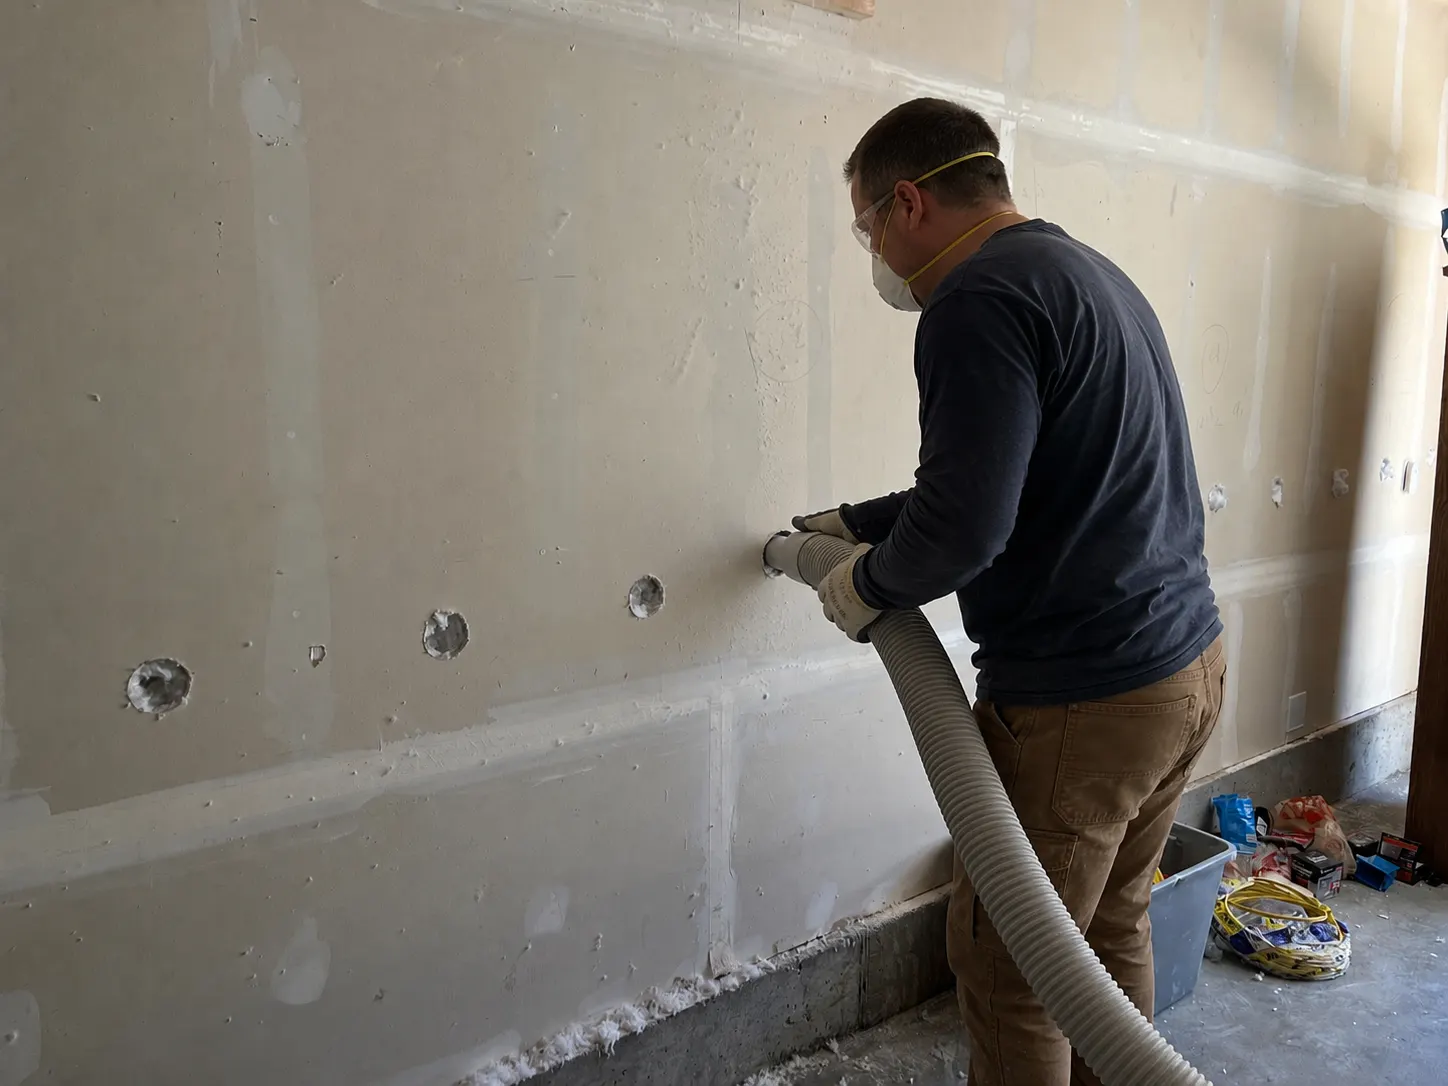
Drill-and-Fill Without Removing the Entire Surface
Most existing wall cavities can be insulated through small, planned openings in the interior or exterior surface. Interwest studies the framing pattern and works carefully around the wiring, plumbing, blocking, existing insulation, and other conditions that may be hidden inside the wall.
The photos show the work during installation, before all access openings have been closed. How effectively each cavity can be filled depends on what is already inside it, which is why the first step is a careful review of the wall or ceiling.
The written estimate explains where the access will be made and who will handle closing, texture, paint, siding, or other final finish work.
Existing-home comfort
Attic Insulation Coverage
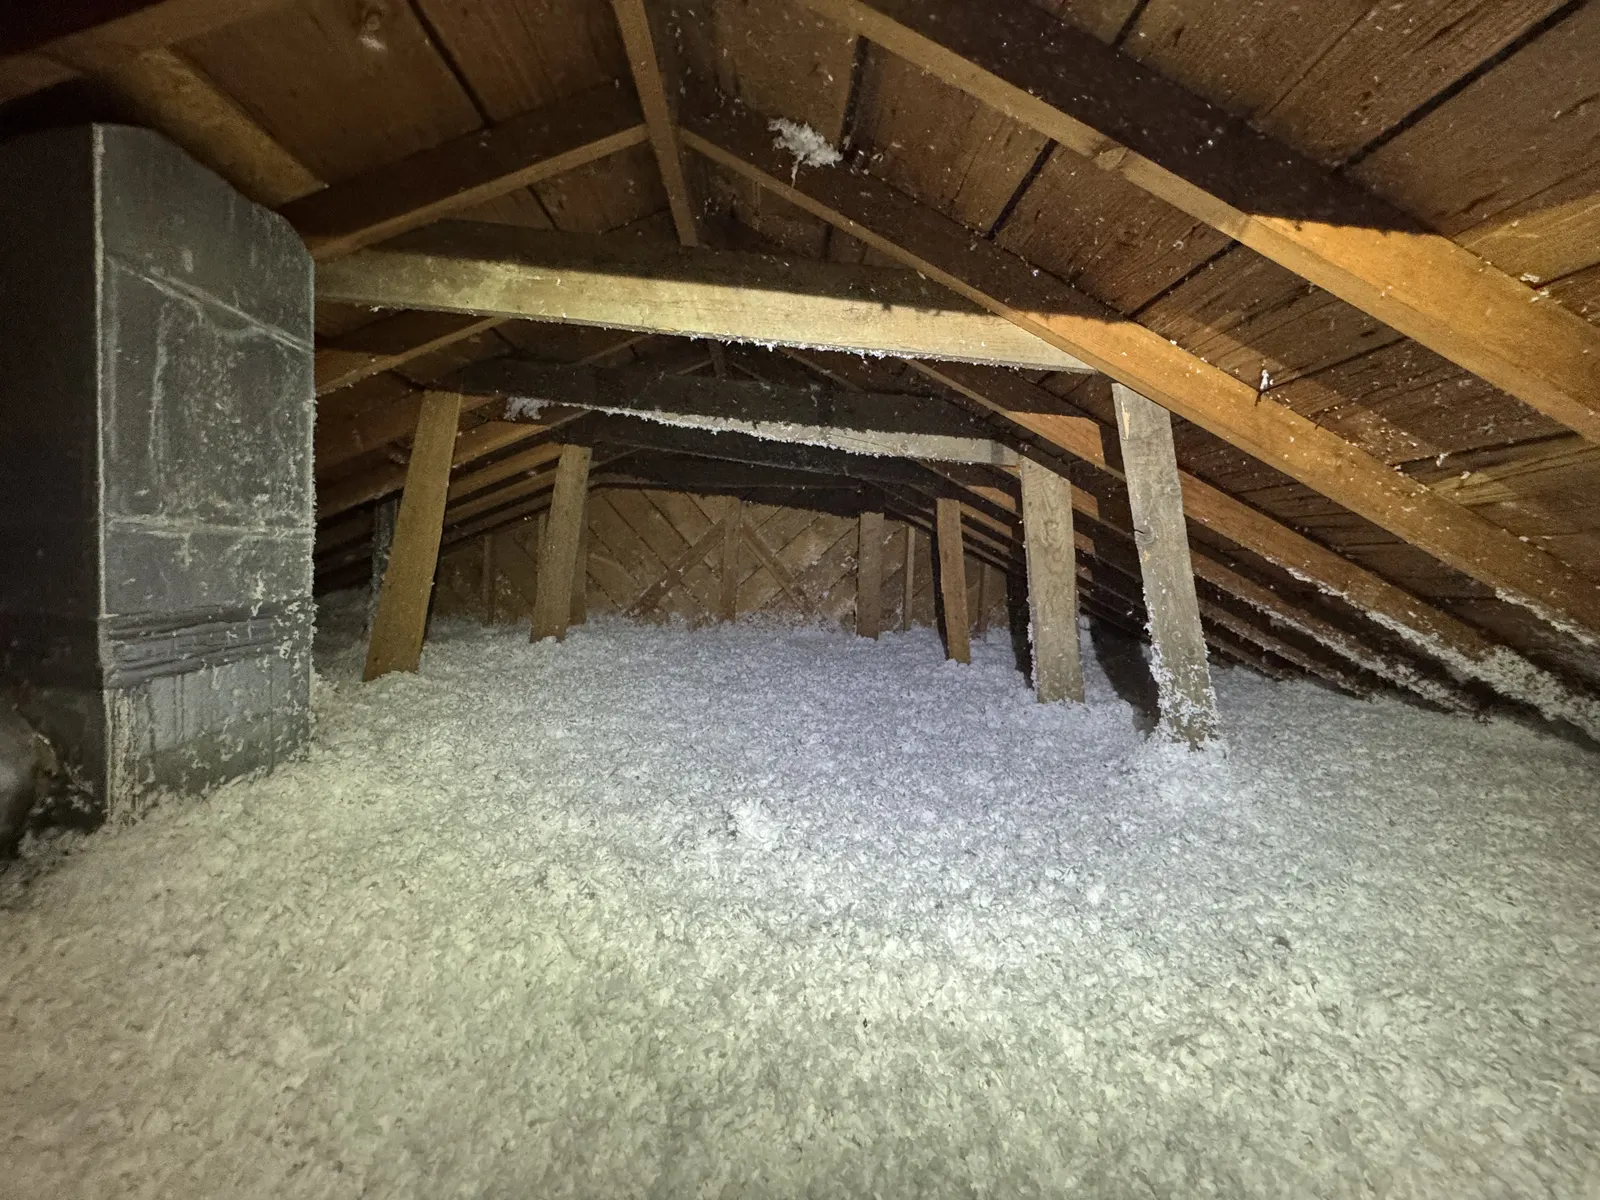
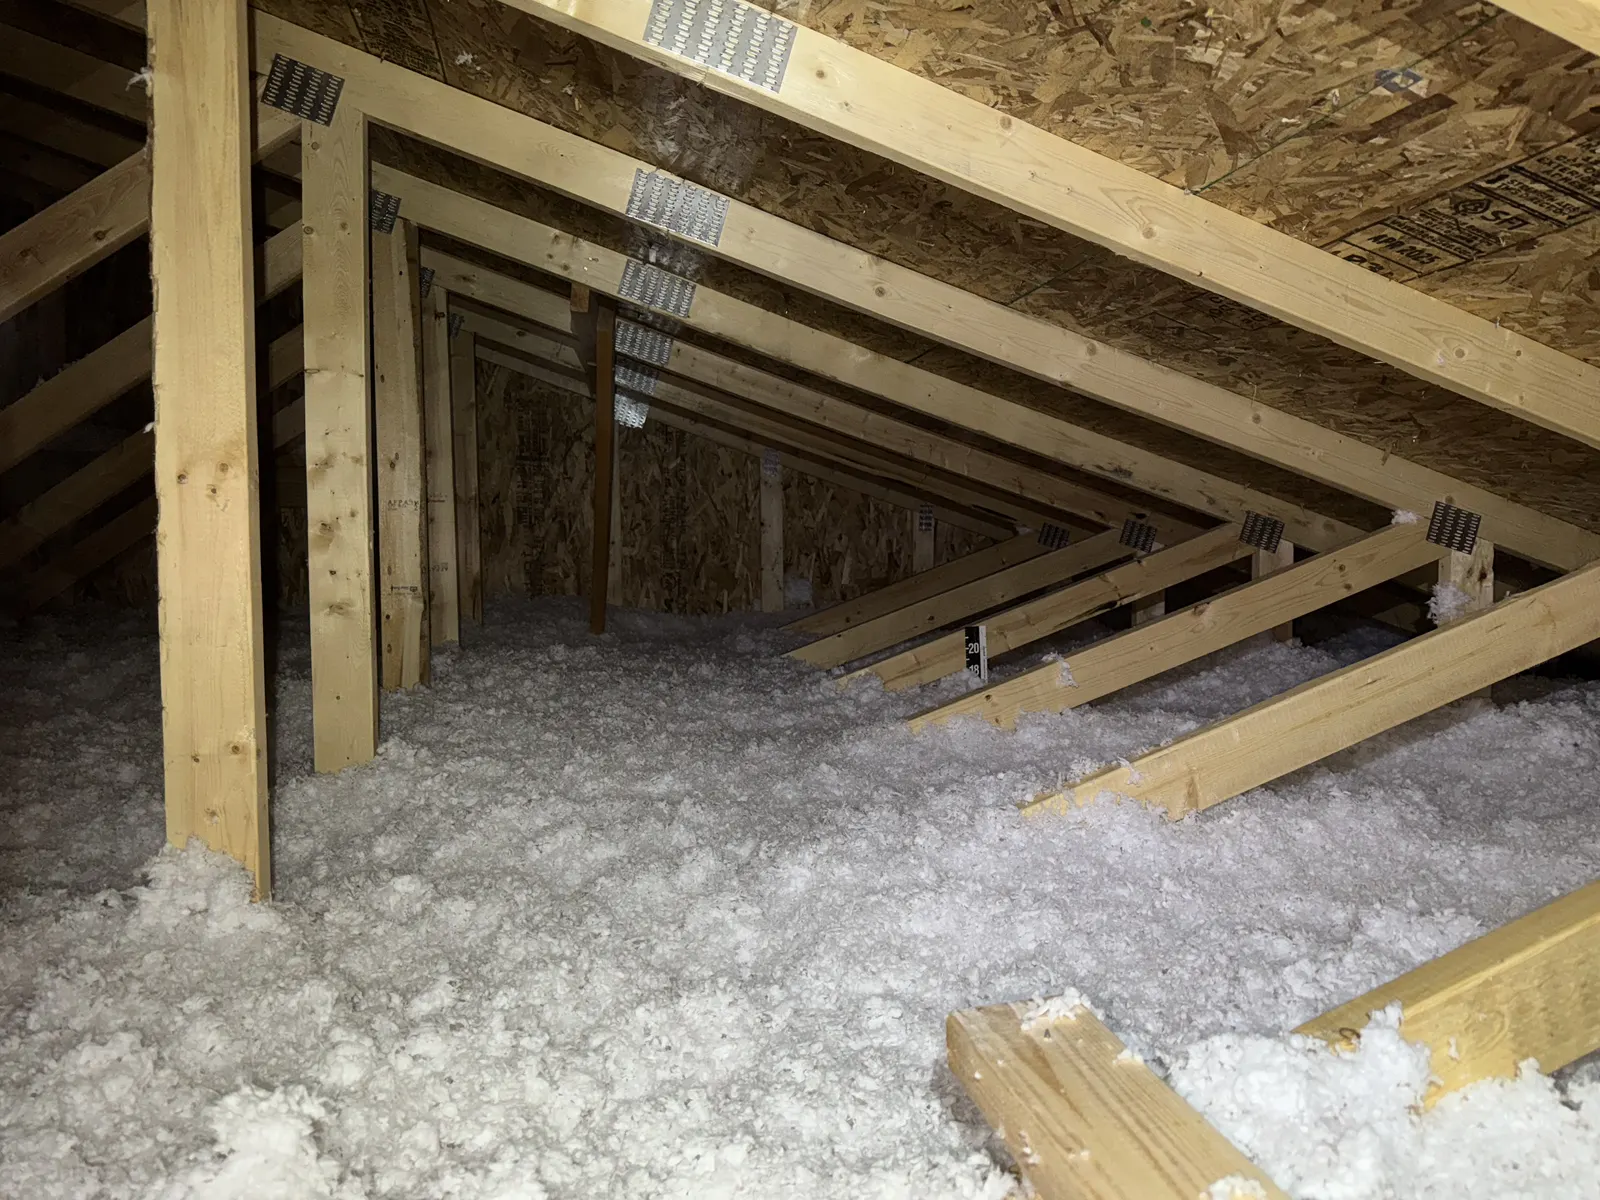
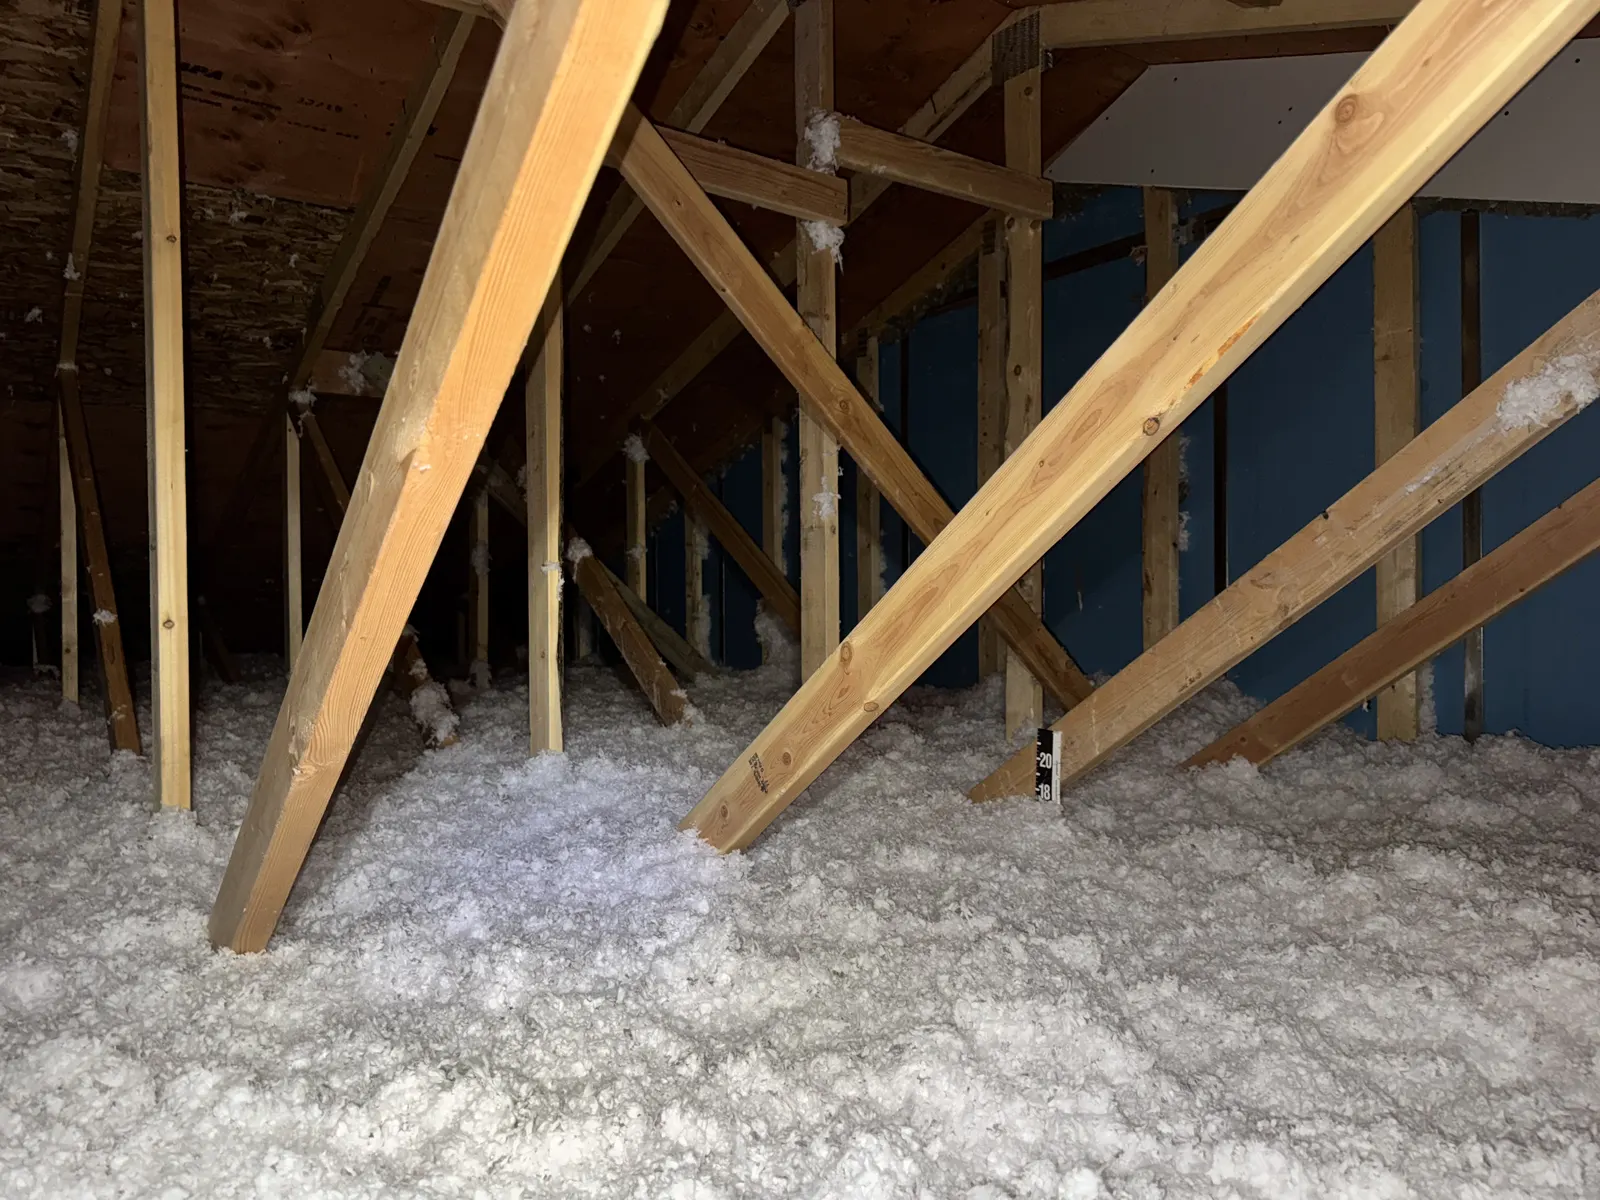
An attic estimate begins with what is already there. Interwest looks at insulation depth and distribution, accessible air pathways, ventilation, safe clearances, moisture, ducts, and the areas where coverage has become thin or uneven.
Many Utah County homes were originally insulated around R-30 or R-38. Current retrofit guidance commonly points toward approximately R-49 to R-60, but the right amount depends on the existing assembly and the material being installed.
These photographs show why attic work is not simply a matter of adding material. Coverage needs to continue through the spaces around trusses, bracing, framing, and penetrations while preserving the clearances the attic requires.
Existing homes, new spaces
Additions & Remodels
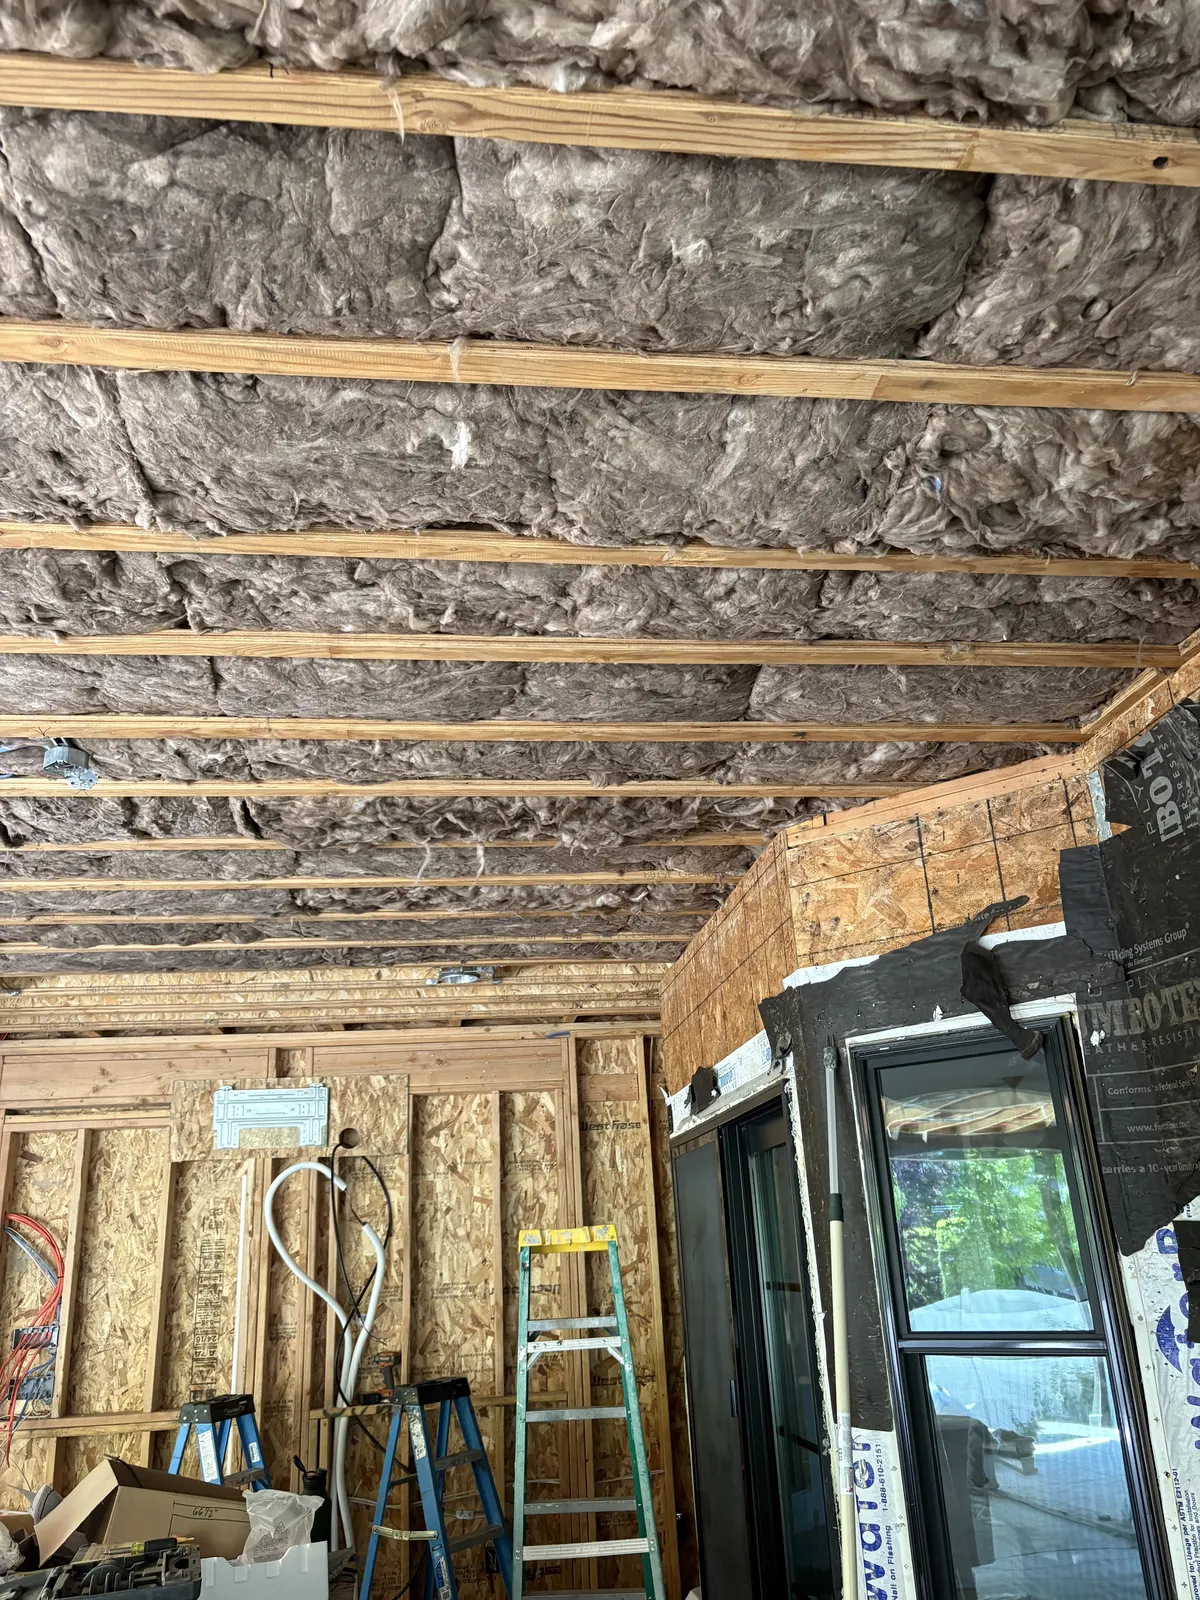
Additions and remodels often combine new open framing with parts of the original home that are already finished. Interwest can coordinate insulation for the new thermal boundary, opened walls and ceilings, and selected existing cavities that may benefit from drill-and-fill.
The useful scope depends on where the new construction meets the existing structure, the assemblies shown in the plans, the stage of the work, and whether the goal is thermal performance, sound reduction, or both.
Sending plans and current photographs early helps identify transitions, access questions, required R-values, and the best time for the insulation work.
Owner-builders and custom homes
New Construction & Custom Homes
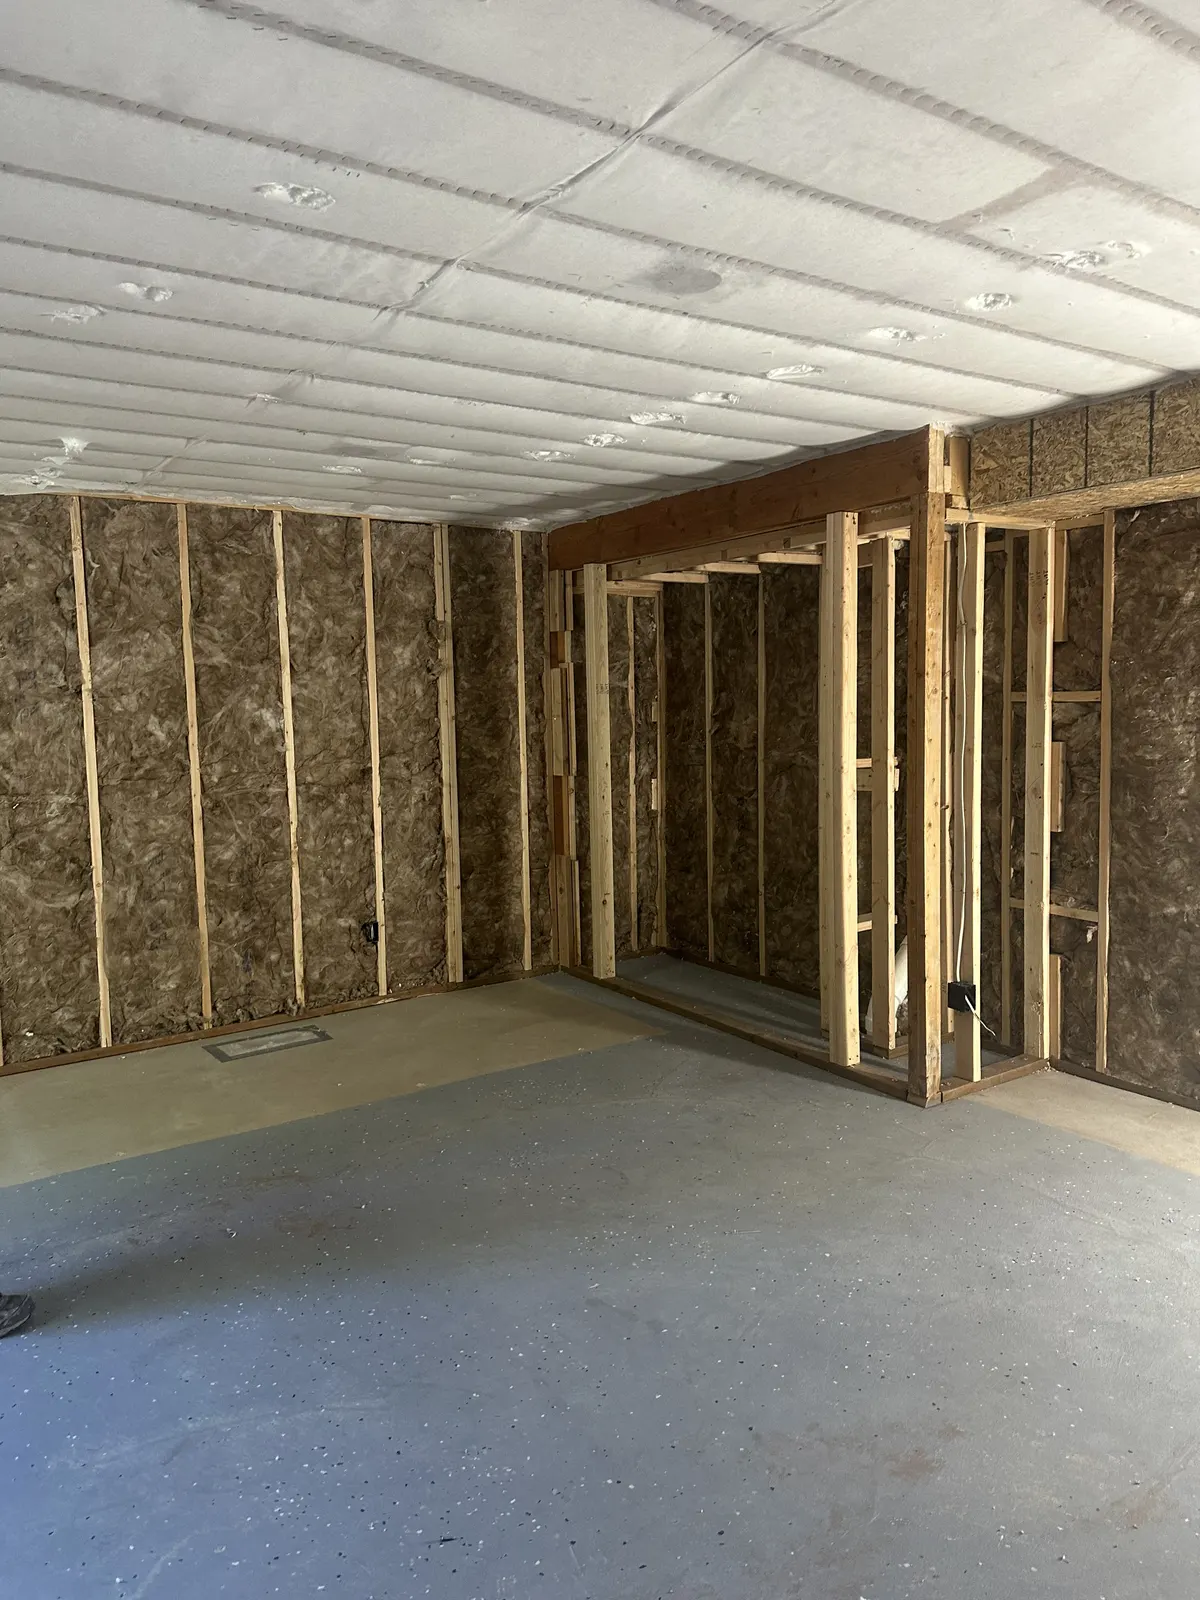
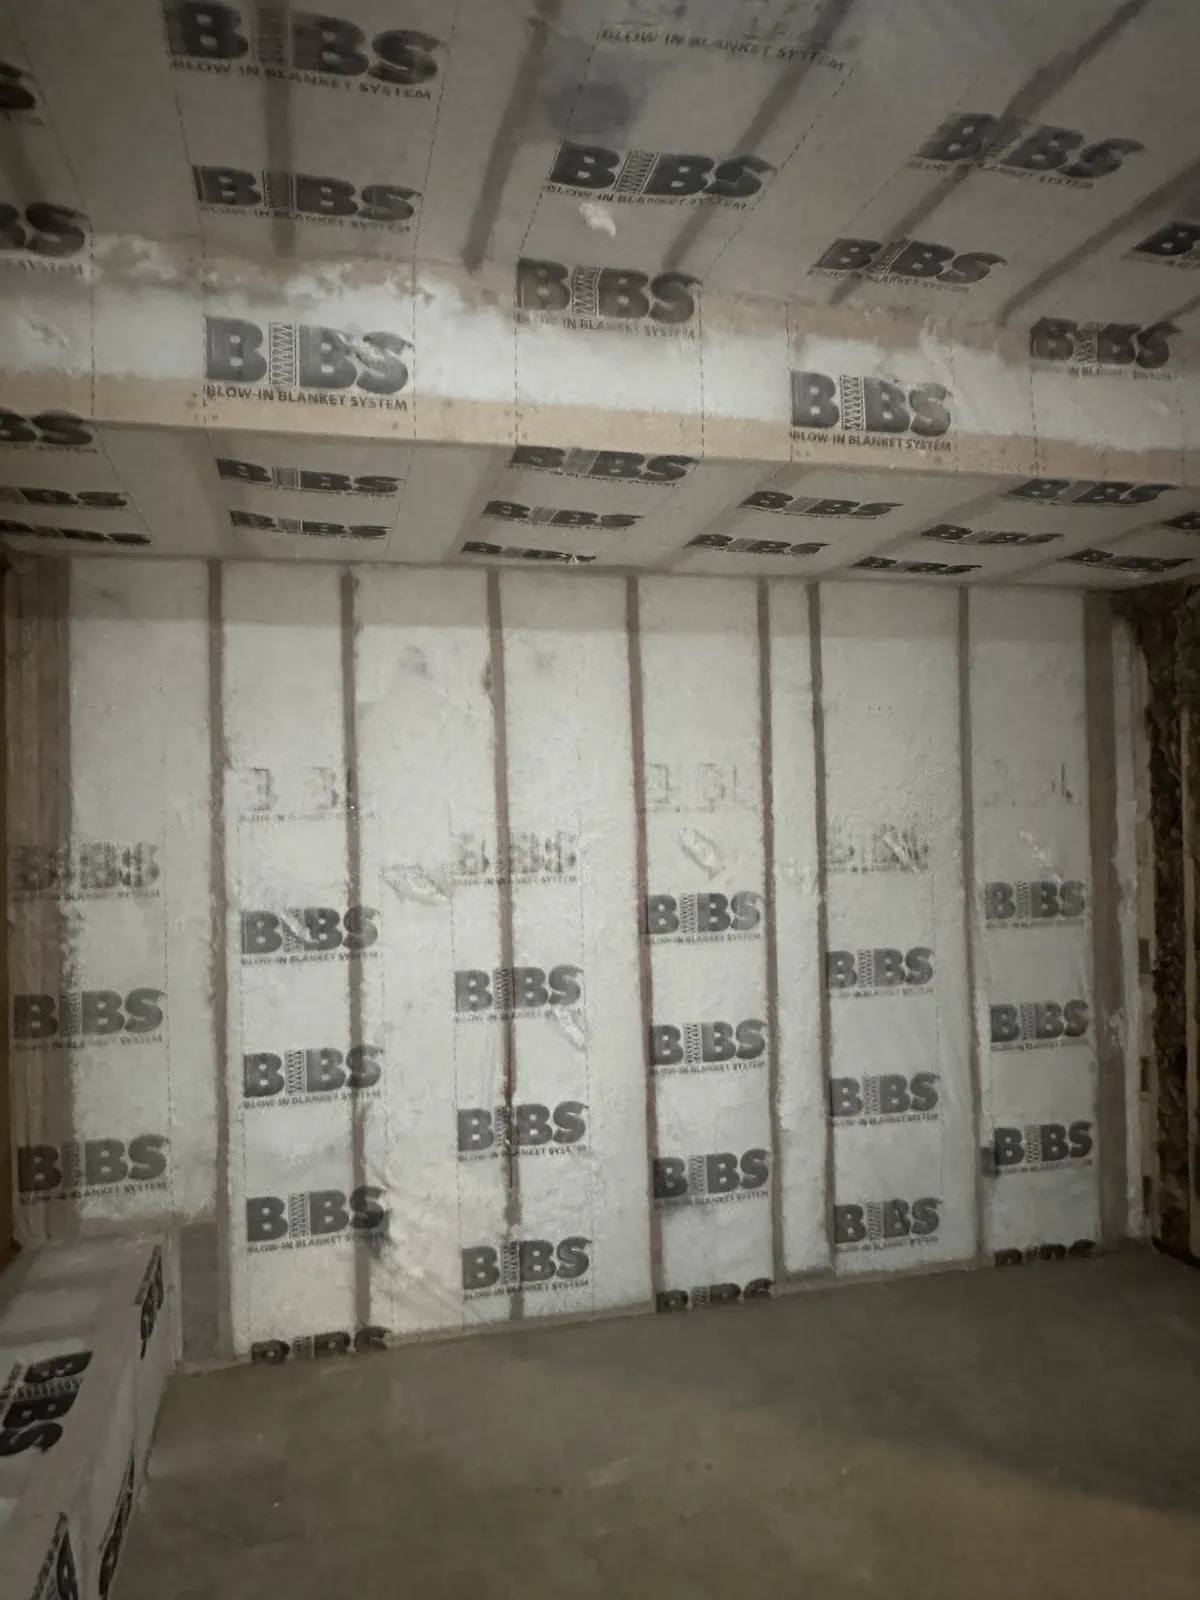
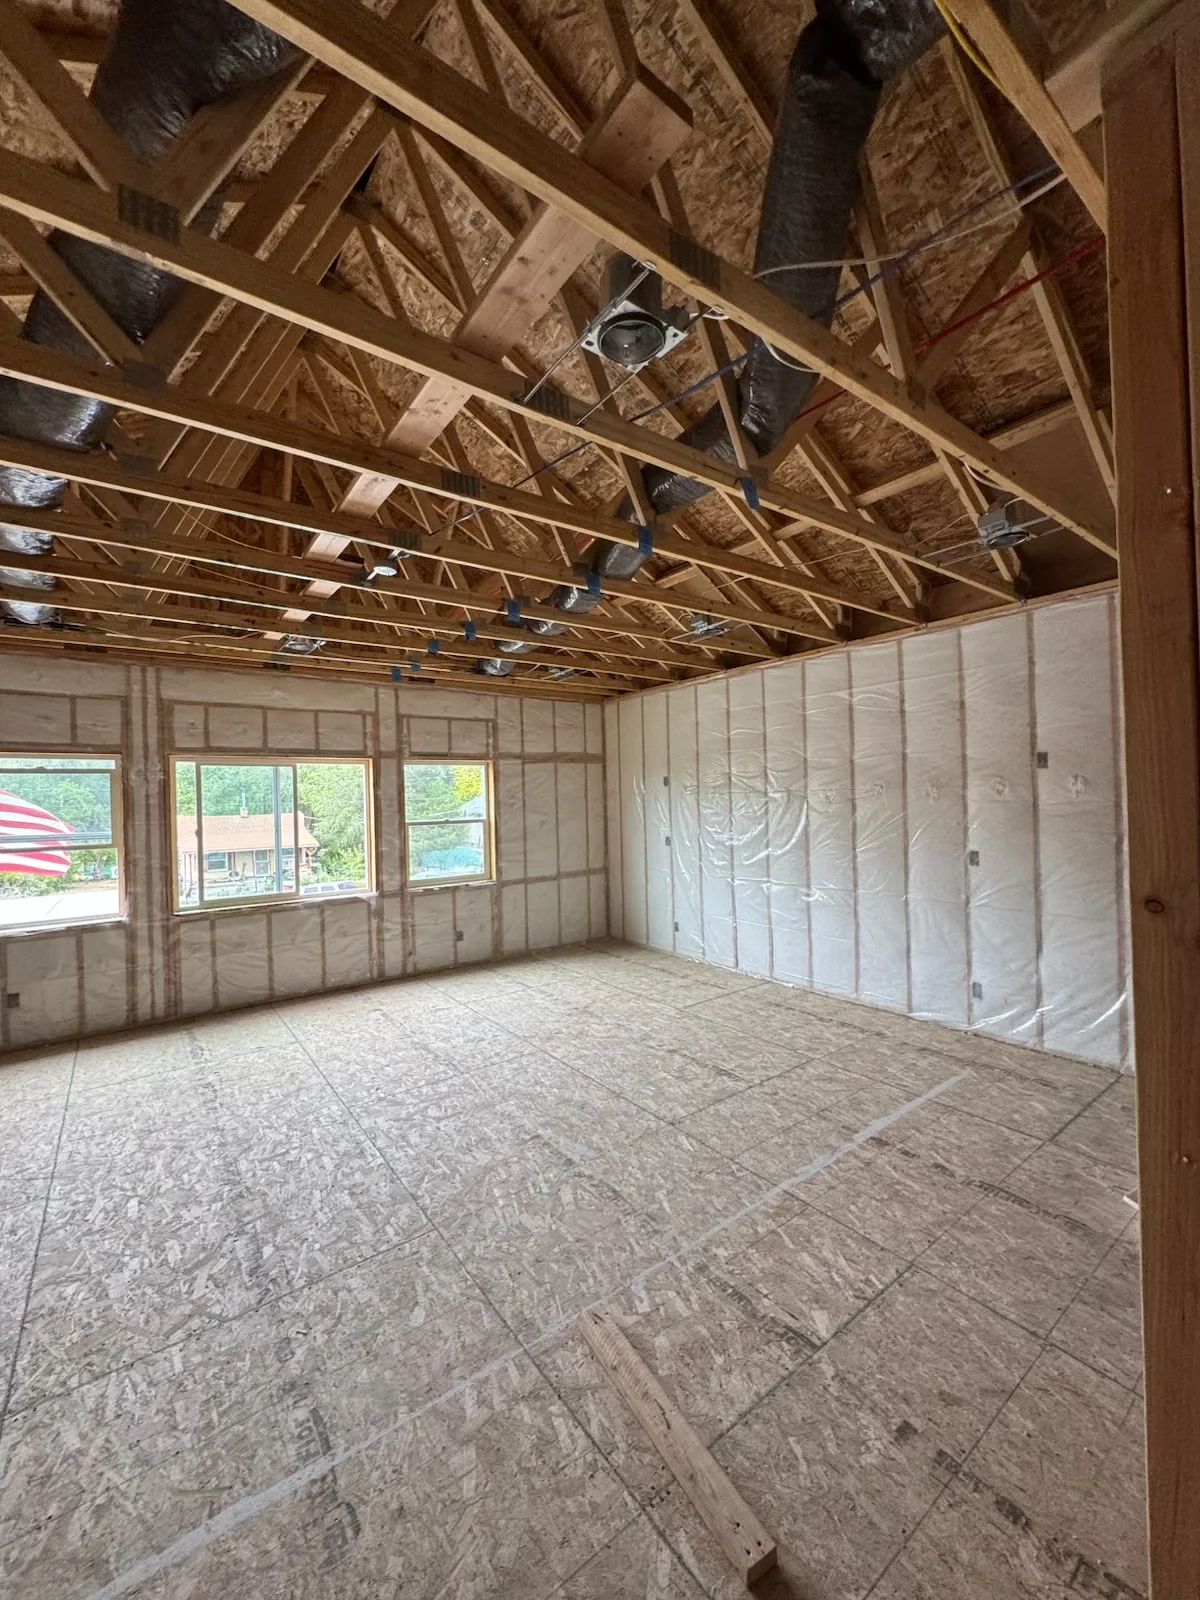
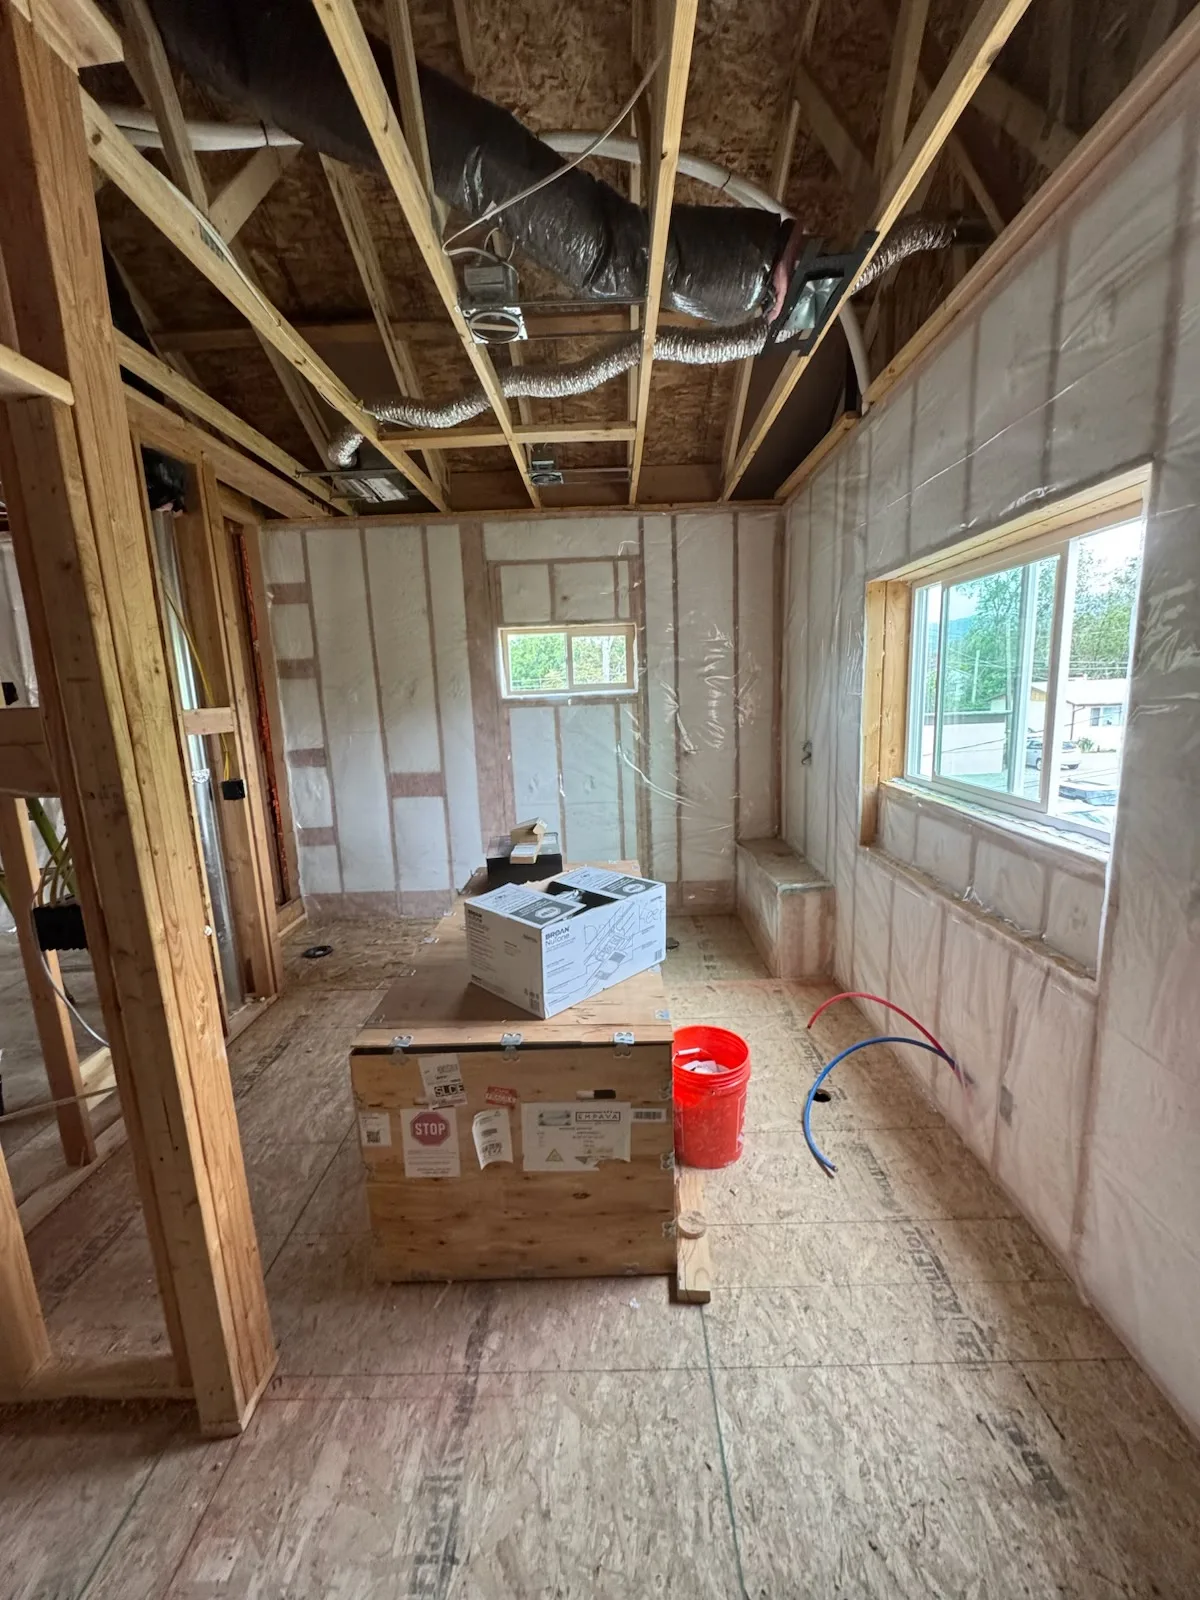
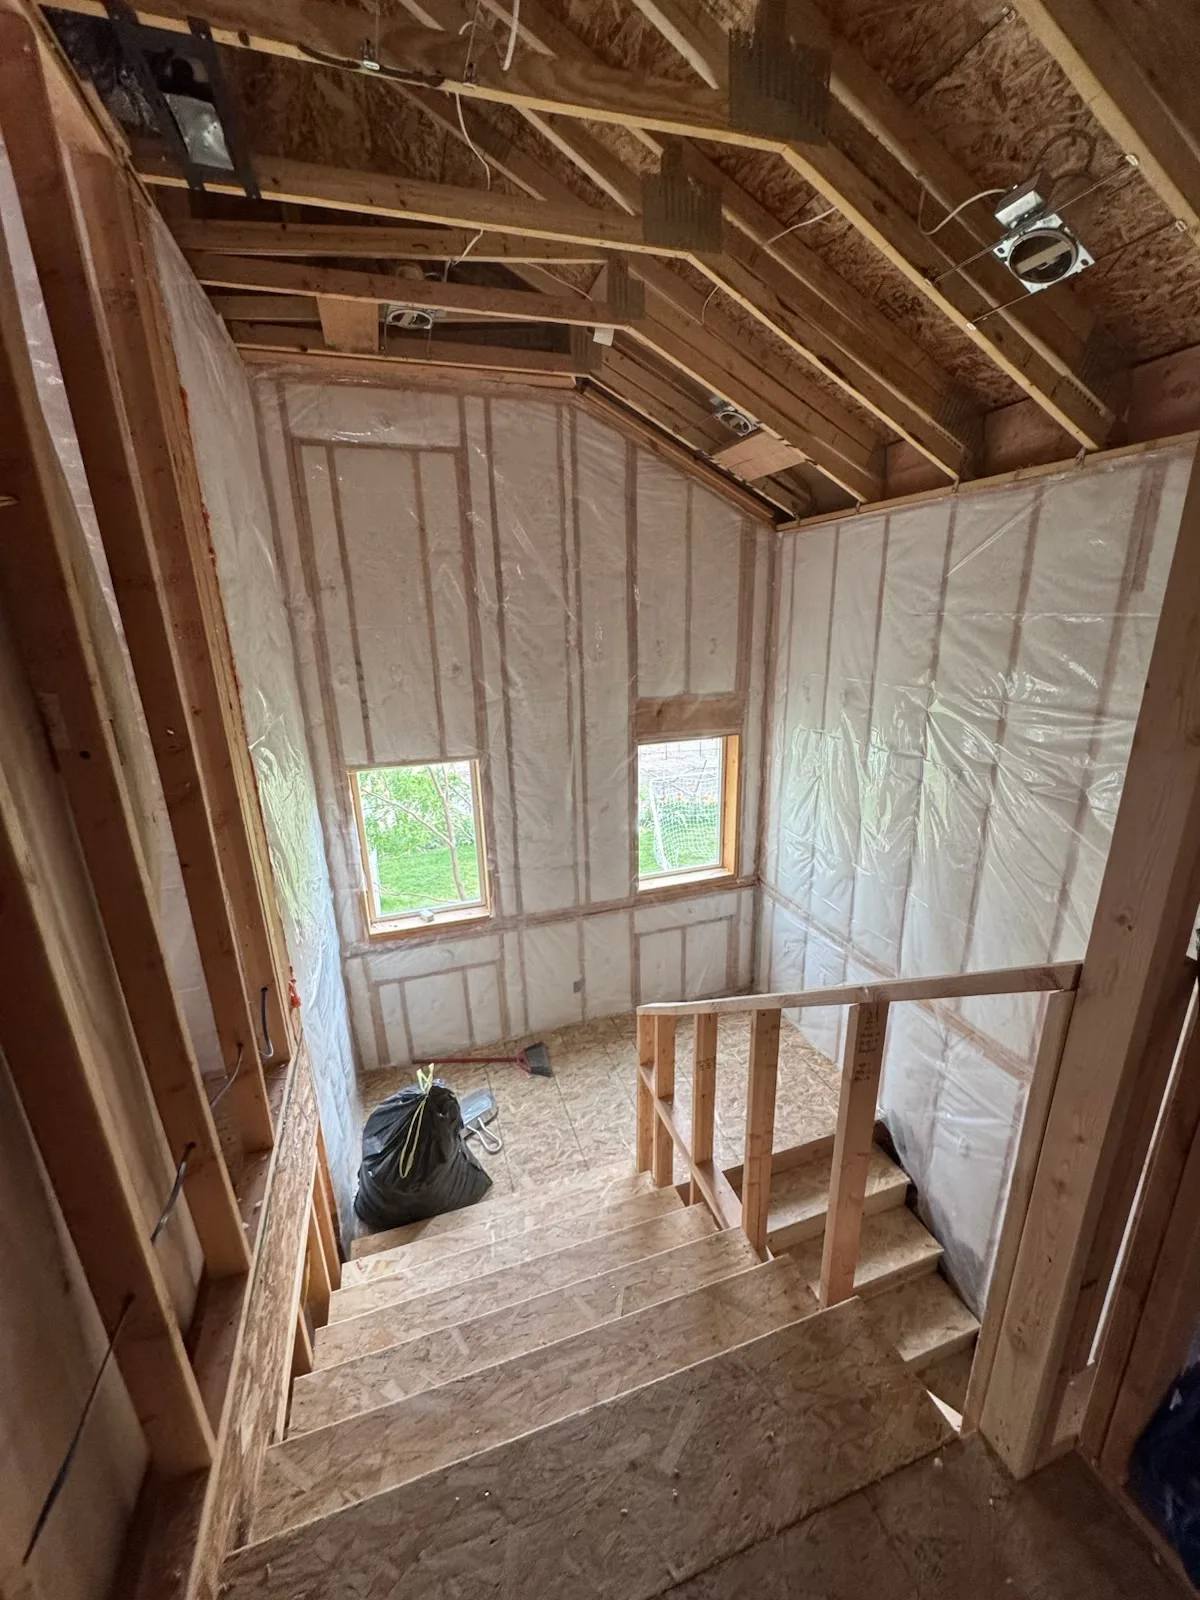
Interwest’s main website emphasis is homeowner retrofit work, but the company also insulates owner-builder homes, custom homes, and smaller residential projects.
These six photographs come from several residential projects. Together, they show the range of conditions a new-home scope may include: conventional wall framing, sloped roof sections, open ceilings, and spaces where netted-and-blown insulation is a practical choice.
Plans, specifications, project location, construction stage, and the target installation date help Cody prepare an accurate estimate and coordinate the insulation with the other trades.
Part of a professional installation
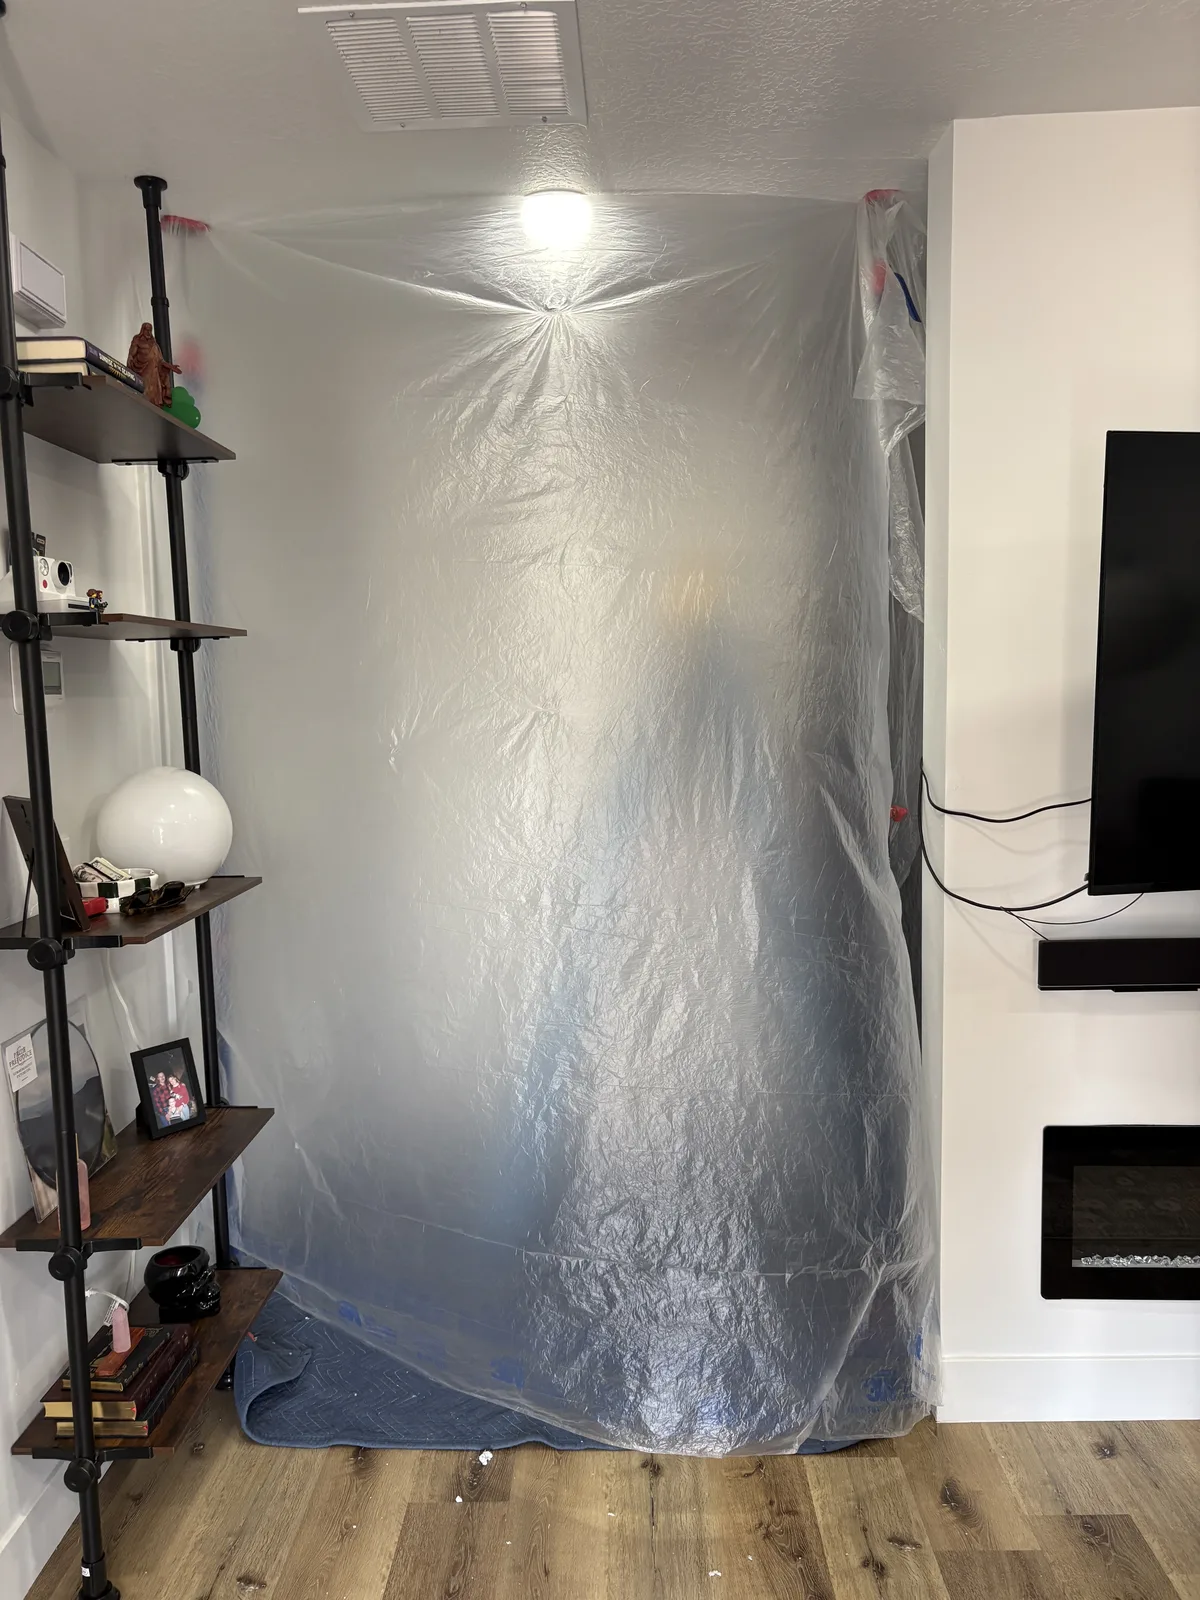
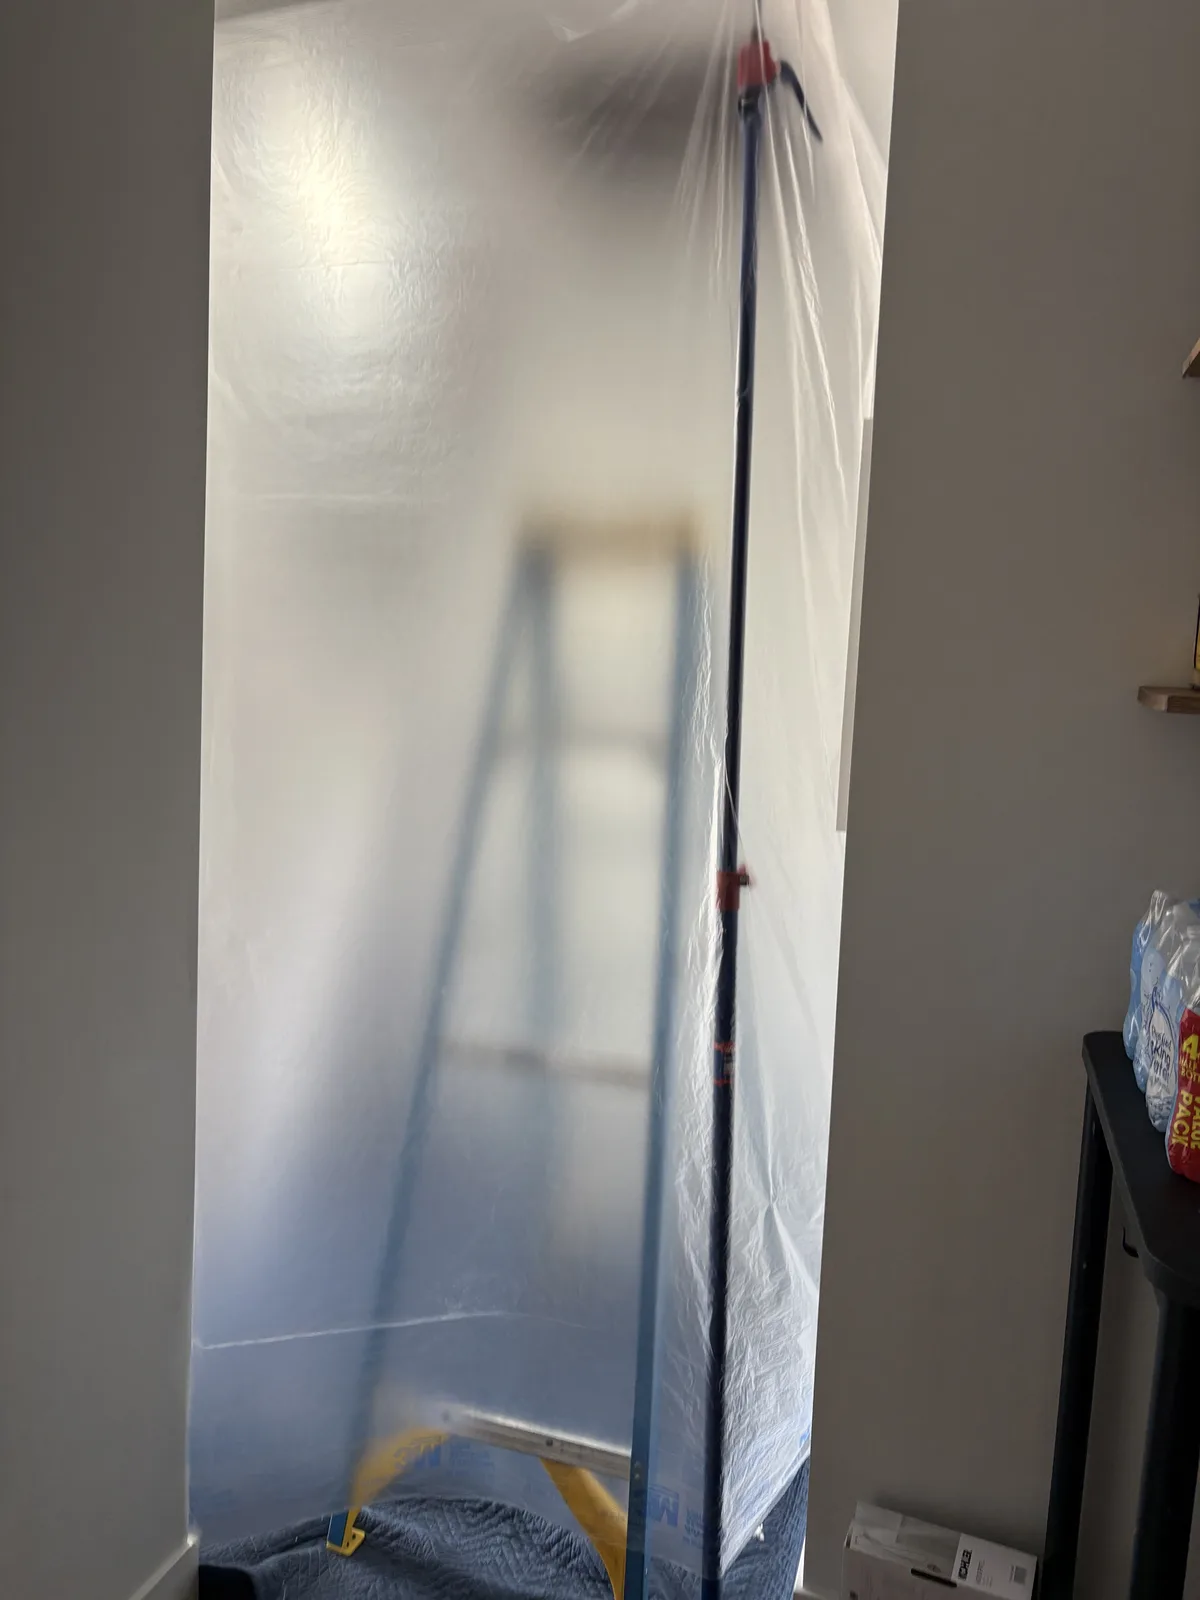
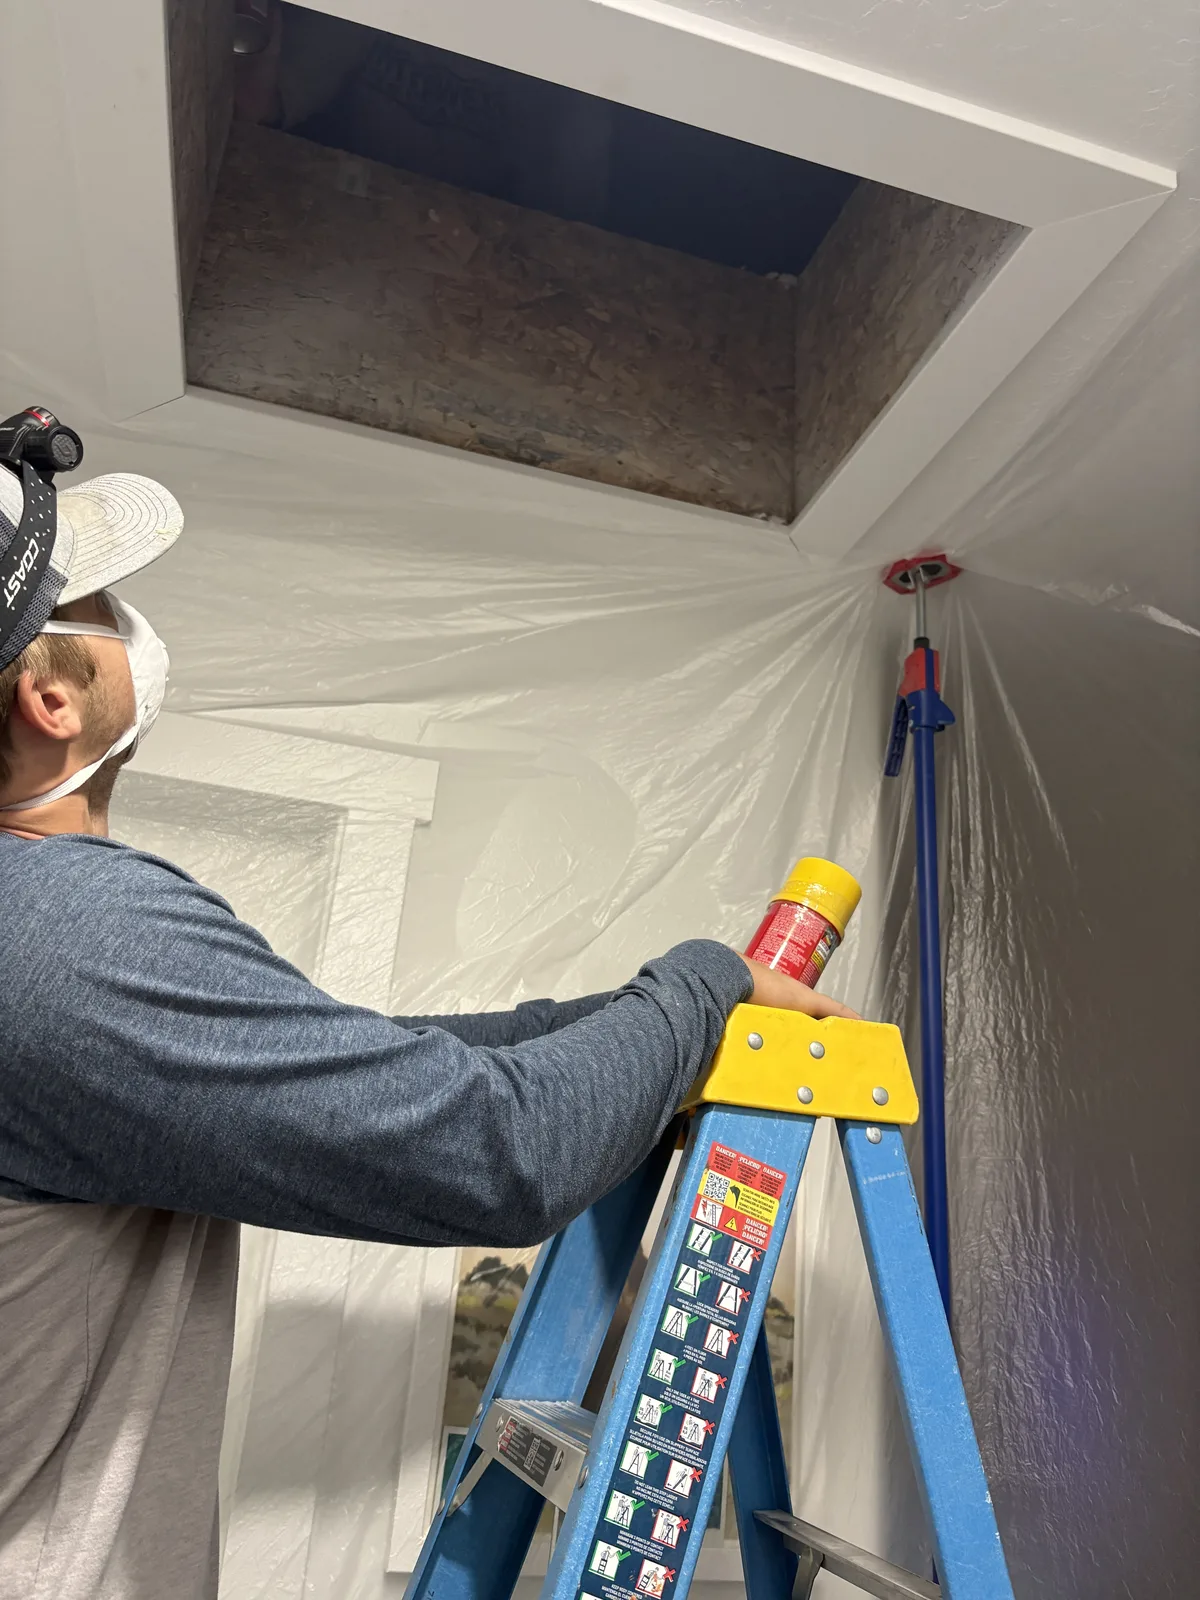
Protecting the Home Before Work Begins
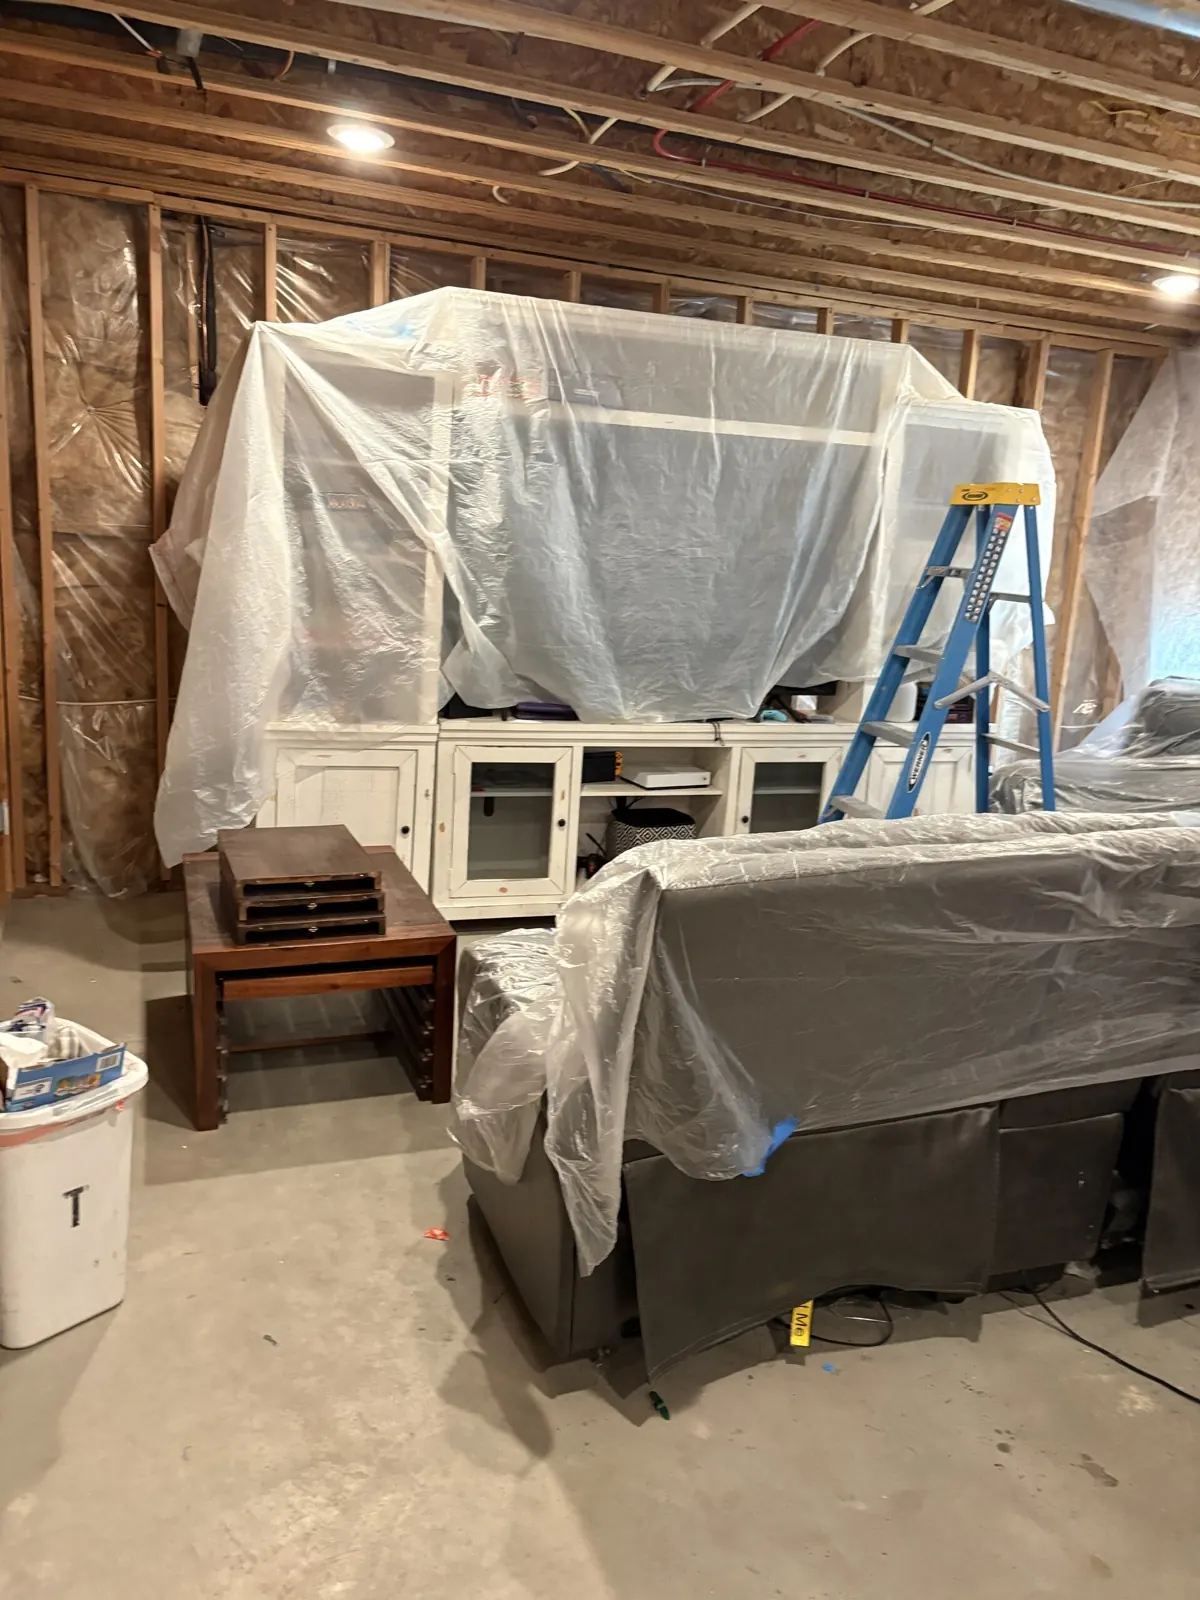
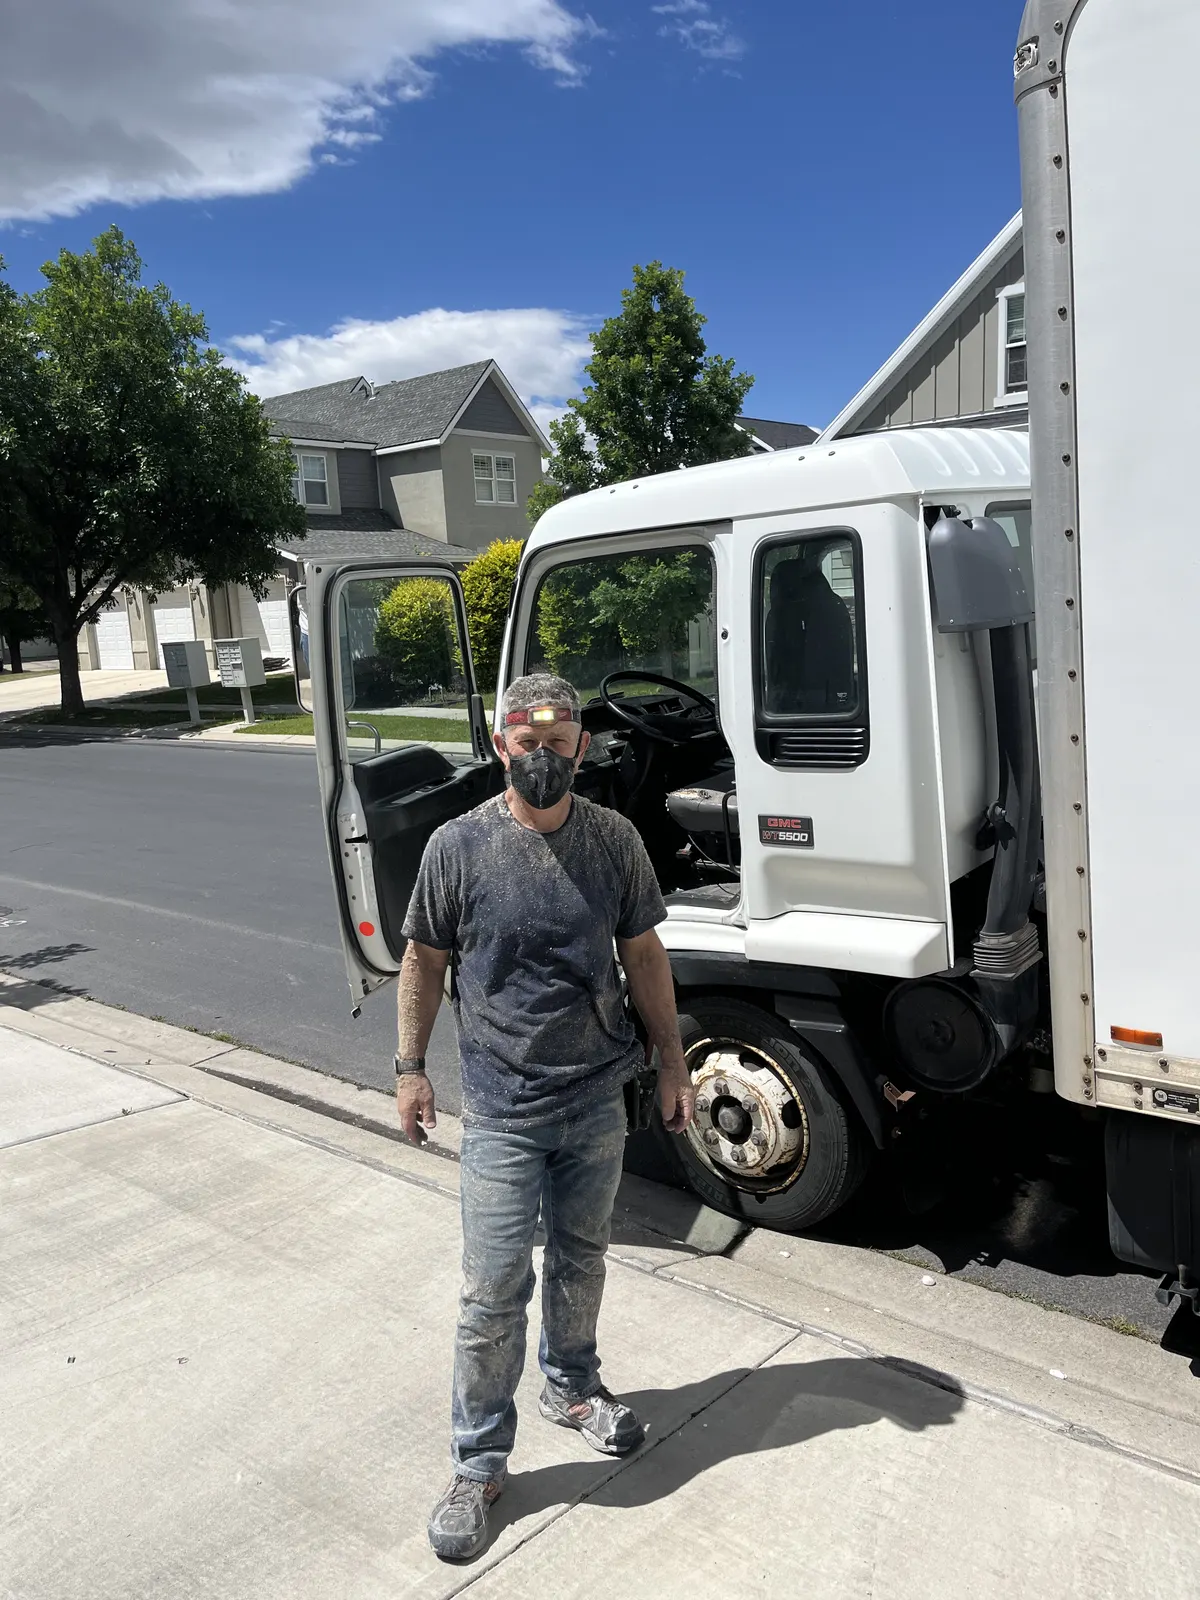
Insulation work is only part of the job. Access routes, nearby belongings, finished surfaces, dust control, and cleanup all need to be considered before installation starts.
These project photographs show the living room sealed with plastic sheeting and floor coverings before overhead work begins. The exact preparation changes with the home and the installation method, and the estimate should make the responsibilities clear before the crew arrives.
That planning is especially important for drill-and-fill, overhead basement work, and attic access through finished living spaces.
Have a similar project?
Send us a few details and photographs.
Tell us the city, the part of the home involved, whether the framing is open or finished, the approximate size, and what you want to improve. Photographs help Cody understand the starting conditions and decide the most useful next step.
We will continue adding Interwest projects as the photographs, scope details, and publication permissions are confirmed. Customer names and exact addresses will remain private unless a homeowner specifically asks to be identified.