
Blog · Attics · Technical references checked October 2026
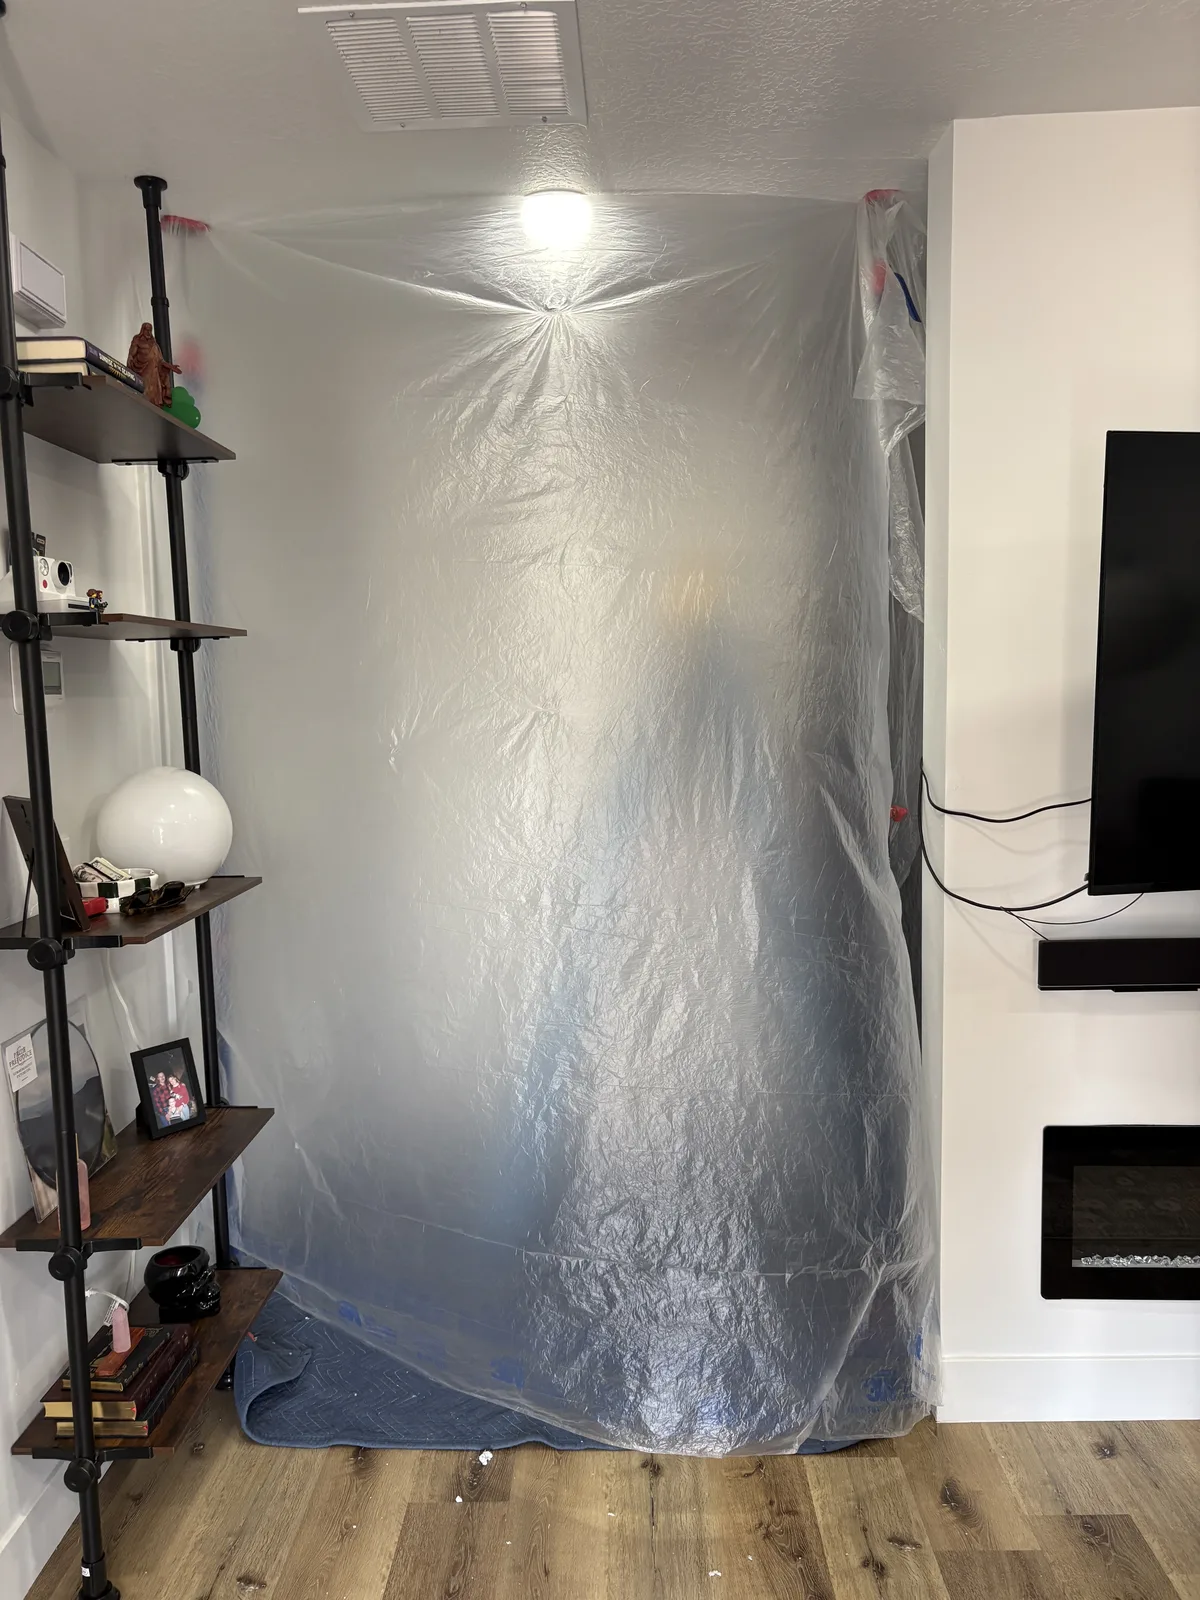
A little preparation can make an attic insulation project easier to coordinate. The most useful steps happen before installation day: confirm the written scope, arrange access, identify repairs, and agree on protection and cleanup responsibilities.
You do not need to diagnose the attic or choose a product yourself. You do need to tell the contractor about known conditions and understand what the proposed work includes.
Confirm what will be installed
Read the estimate for the actual treatment area, material, and specification. Ask whether the stated R-value means insulation being added or the intended final total. Identify areas excluded because of access, equipment, storage, or other constraints.
Clarify any air sealing, baffles, hatch treatment, and preparation included. Discuss how unexpected conditions will be handled before the work changes. Our insulation estimate guide explains why two prices are only comparable when their scopes match.
Resolve known repairs first
Tell the contractor about roof leaks, damp insulation, pest activity, odors, damaged ducts, electrical concerns, and planned roof or mechanical work. Those details can change the sequence or require a different trade.
ENERGY STAR’s attic guidance identifies moisture, incorrectly routed exhaust, limited ventilation, and older wiring as conditions to address before proceeding. Interwest does not provide insulation removal. If removal or remediation is necessary, a separate qualified contractor must complete it before the insulation installation.
If vermiculite may be present, leave it undisturbed and seek appropriate evaluation. EPA recommends treating vermiculite as potentially asbestos-contaminated. Homeowner preparation should never involve disturbing suspect material to make the job easier.
Plan the access route
Show the crew where the attic opening is located and describe any access restrictions. An opening in a closet, hallway, or garage can require different preparation. Clear the agreed route and move items that prevent a ladder or equipment from being positioned safely.
Ask about parking, hose routing, gates, stairs, and any shared-property rules. Keep children and pets away from the work area during installation. If someone will be working from home, discuss which rooms and passageways may be affected.
Agree on protection for finished areas
Move delicate items and personal belongings from the immediate work area as agreed. Ask what floor coverings, masking, or containment the contractor provides and what you should move beforehand.
Interwest’s home-protection project photographs show examples of protected rooms and access areas. The arrangement depends on the service and home; it should be confirmed for your installation rather than assumed from a photograph of another job.
Discuss attic storage and equipment
Tell the estimator if the attic contains stored boxes, a platform, an air handler, electrical equipment, or other components that need access. An insulation upgrade should account for those conditions in the proposed scope.
Do not push boxes across insulation or compress new material to create a walkway afterward. Ask which storage or service areas can remain and whether a separate access platform or other work is needed. Do not enter a difficult or unsafe attic just to take photographs; let the contractor review it.
Check rebate requirements before work starts
If you intend to apply for a utility rebate, verify eligibility and required documentation before authorizing installation. The utility may need starting-condition information, product details, a qualifying final value, and a suitable invoice.
Use our Utah insulation rebate guide as a starting point, then confirm current rules with your utility. Keep the written estimate and ask what documentation will be available at completion. Do not assume every attic or homeowner qualifies.
Review the completed scope
At completion, ask which areas were treated and whether any conditions changed the plan. Request photographs where useful and available. Review the material, added specification, intended final value, and any documented exceptions.
Confirm that the agreed access-closing and cleanup work is complete, and retain the invoice and supporting documents. For comfort concerns, keep notes afterward under comparable weather and thermostat conditions. Room temperature and bills also depend on other building systems and household use, so one observation does not isolate insulation performance.
Ready to plan an upgrade? Send your city, home age, access location, and main concern through our estimate request form. Our project process guide explains how Interwest turns those details into a written scope.
Browse more insulation guides · See completed local projects